Emulation With QEMU
Note
This tutorial is designed to assist you in getting started with using QEMU to emulate devices on your desktop. Please note that we are selecting a specific machine to establish an environment for experimenting with the FoundriesFactory™ Platform. This approach will enable you to engage with subsequent tutorials and enhance your skills.
Prerequisites and Pre-Work
Ensure that you have installed QEMU 5.2 or later.
Create a FoundriesFactory for the
QEMU Arm 64 bitplatform as described in the guide Selecting Your Platform:
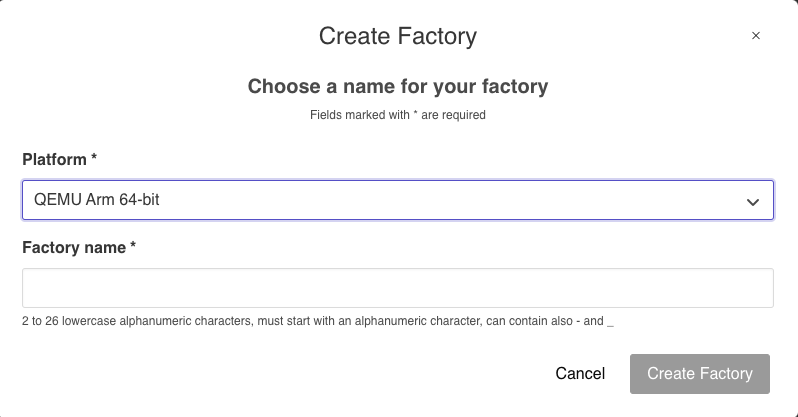
Fig. 11 QEMU ARM Example Factory
Emulating Device
Go to the Targets tab of your Factory and download
lmp-base-console-image-qemuarm64-secureboot.wic.gzandflash.bin:
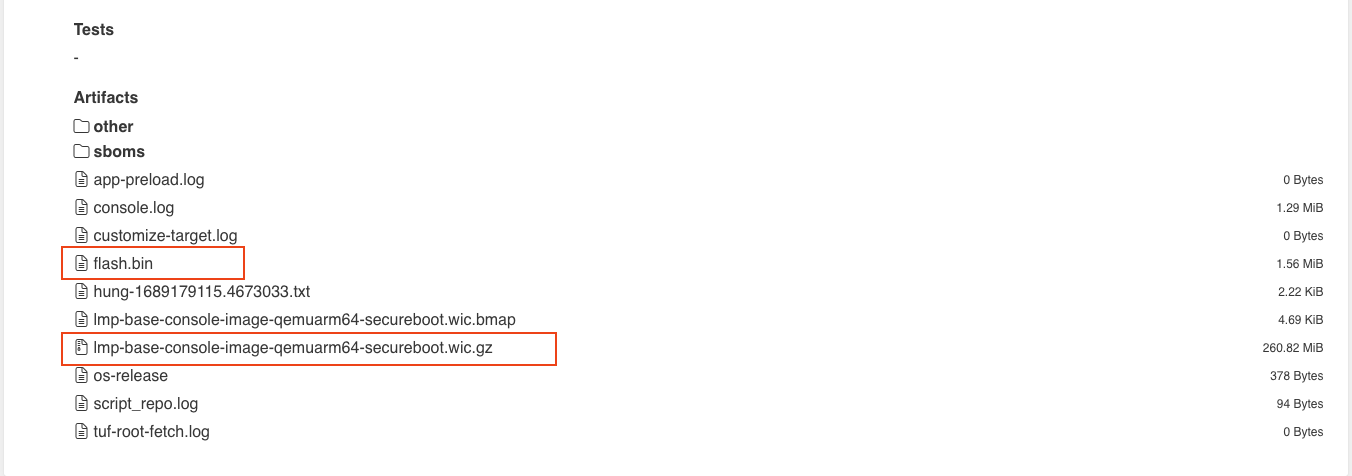
Fig. 12 Required QEMU artifacts
Make a directory for the artifacts and cd into it:
mkdir -p lmp-qemu/arm64
cd lmp-qemu/arm64
Copy the Artifacts to the
lmp-qemu/arm64directory :
cp <path-where-dir>/lmp-base-console-image-qemuarm64-secureboot.wic.gz .
cp <path-where-dir>/flash.bin .
Decompress the image:
gunzip lmp-base-console-image-qemuarm64-secureboot.wic.gz
Convert the Disk to QCOW2 Format:
Use qemu-img to convert your raw disk image to the QCOW2 format.
This step can sometimes make the image more amenable to virtualization.
qemu-img convert -f raw -O qcow2 lmp-base-console-image-qemuarm64-secureboot.wic lmp-base-console-image-qemuarm64-secureboot.qcow2
Resize the Image:
Resize the new QCOW2 image to a size that’s a multiple of the sector size. Let us resize it to 4GB for simplicity.
qemu-img resize lmp-base-console-image-qemuarm64-secureboot.qcow2 4G
Run QEMU with the New Image:
Once you’ve converted and resized the image, you can then use it with your QEMU command.
qemu-system-aarch64 \
-m 2048 \
-cpu cortex-a57 \
-smp 2 \
-machine acpi=off \
-bios flash.bin \
-device virtio-net-device,netdev=net0,mac=52:54:00:12:35:02 \
-device virtio-serial-device \
-drive id=disk0,file=lmp-base-console-image-qemuarm64-secureboot.qcow2,if=none,format=qcow2 \
-device virtio-blk-device,drive=disk0 \
-netdev user,id=net0,hostfwd=tcp::2222-:22 \
-object rng-random,filename=/dev/urandom,id=rng0 \
-device virtio-rng-pci,rng=rng0 \
-chardev null,id=virtcon \
-machine virt,secure=on \
-nographic
Log into the booted system:
By default, the
usernameandpasswordto log in your device after boot arefio/fio. We recommend changing them once you are in development.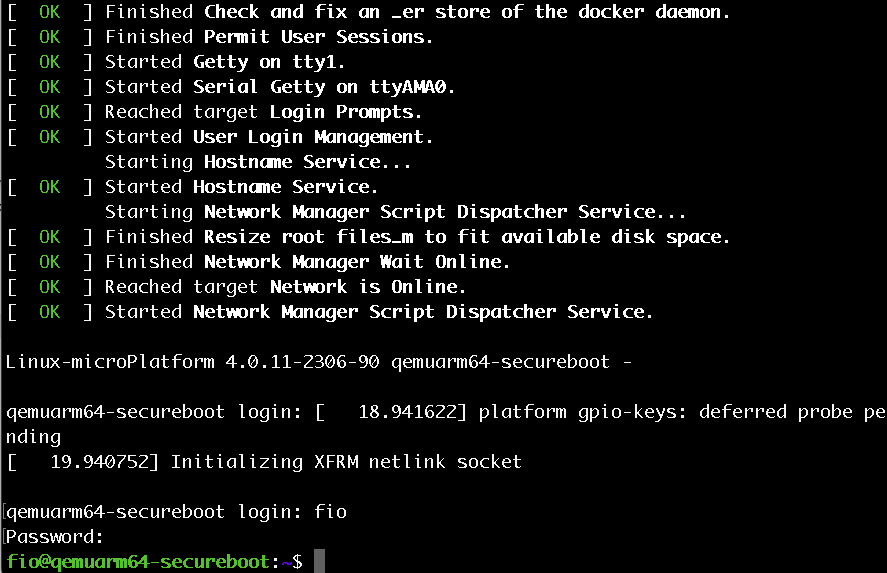
Fig. 13 QEMU device login
Note
If you are not prompted for login, press Enter to check if it gets displayed.
Note
If you encounter a QEMU terminal where common commands like ls are unresponsive, it may indicate an issue.
A missing login prompt likely means that your image did not boot successfully.
For this specific platform, we use the -bios=flash.bin flag to boot the system.
However, the flags and configurations may vary based on the selected platform.
Note
To emulate multiple devices, ensure that you convert to the QCOW2 format. Each image converted and subsequently run with QEMU will be recognized as a distinct device.
Next Step
At this point, you have successfully set up the device. You are now able to Registering Your Device and proceed with the following tutorials.