Flashing Your Device#
Note
The initial Factory setup and build is finished very quick. Follow its status with steps listed in Watching Your Build page.
Prerequisites and Pre-Work#
A supported board which is either:
Capable of booting from eMMC (supported by default if available) - Or capable of booting from a suitable microSD Card
Wired or WiFi network with internet access.
Ethernet cable (if choosing Wired)
Console access to your hardware via UART serial (if choosing WiFi)
Note
If you’re starting out and prefer emulation over a physical board, refer to QEMU. These pages will guide you through starting up a QEMU machine, allowing you to move on to Registering Your Device.
Downloading the System Image#
After a successful build, the FoundriesFactory™ Platform produces build artifacts which can be downloaded from the Targets tab of your Factory.
Navigate to the Targets tab of your Factory.
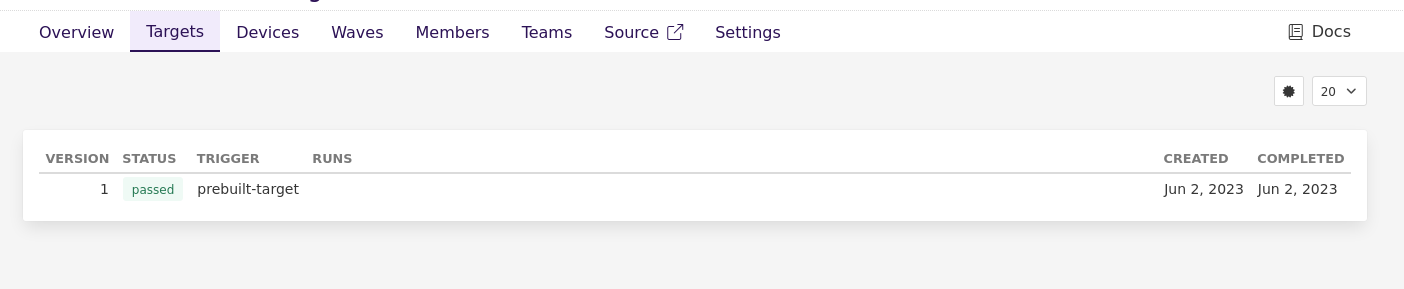
Target tab
Expand the Target information by clicking on the one named
prebuilt-targeton it. This shows a link to the Factory image artifact. Download the Factory image for your machine:E.g:lmp-base-console-image-<machine_name>.wic.gz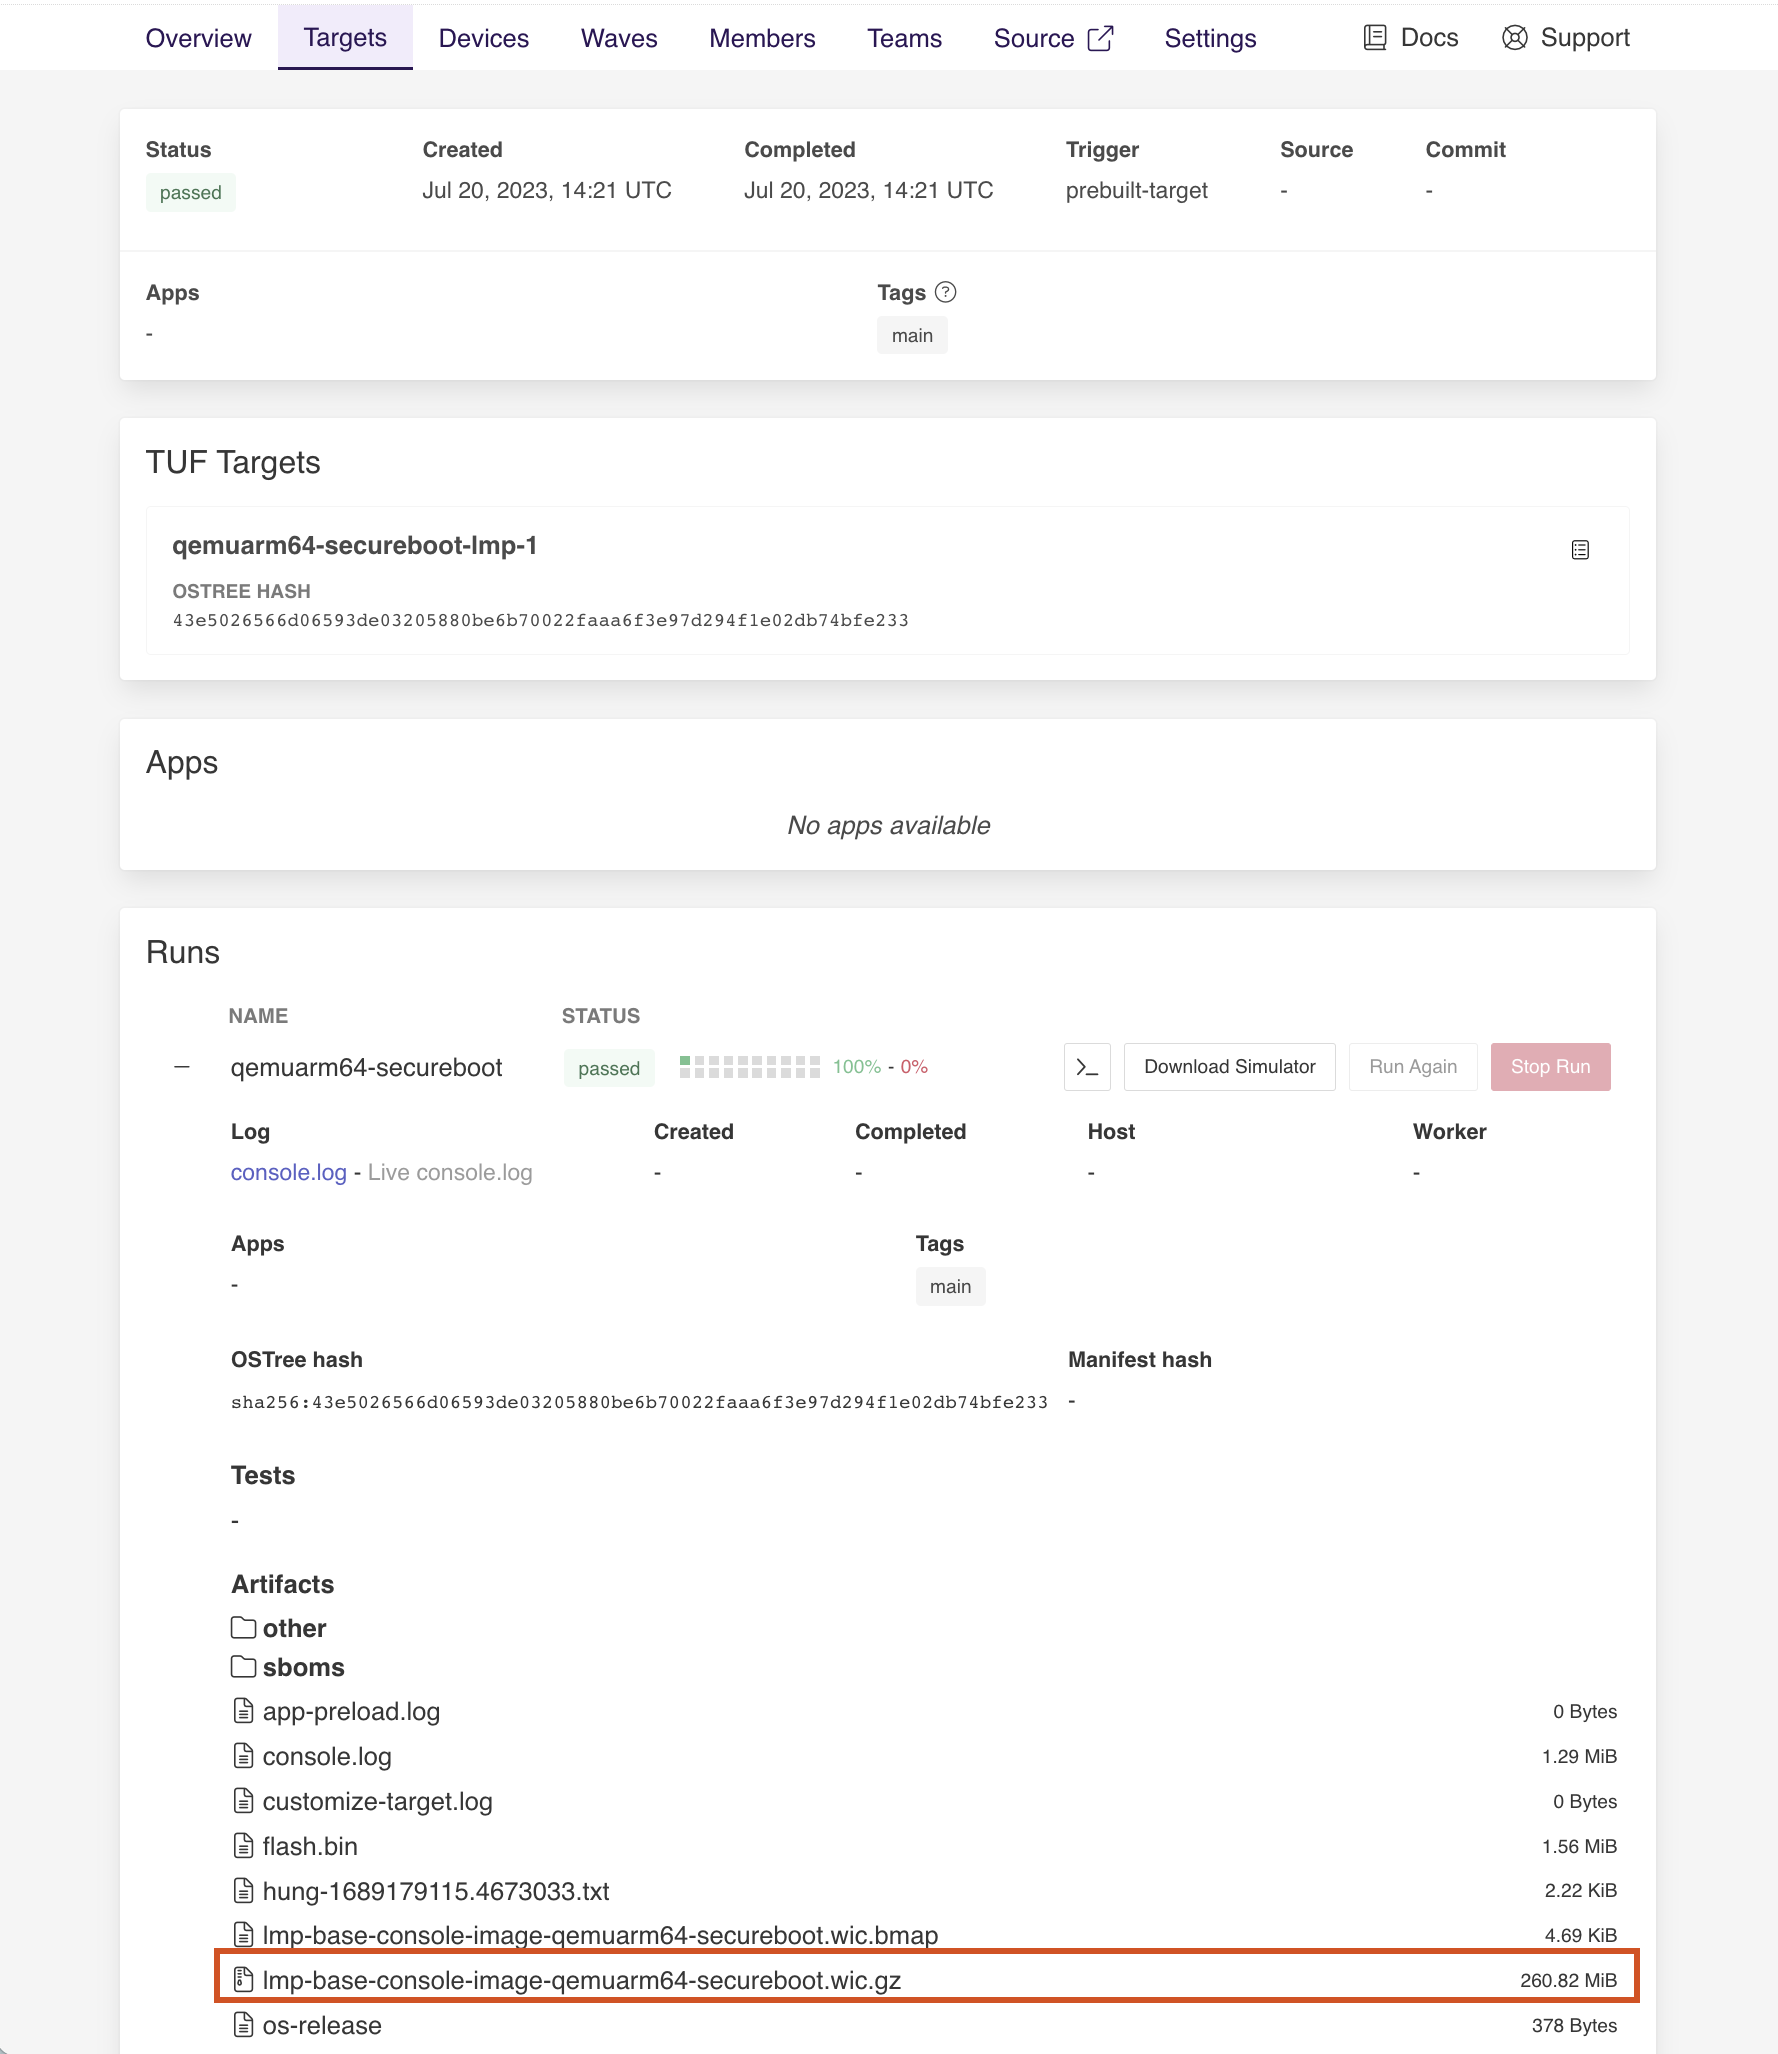
Fig. 9 Target artifacts#
Note
Most platforms require more than the lmp-base-console-image-<machine_name>.wic.gz artifact for flashing.
The required artifacts are board specific and listed on respective pages under Flashing Instructions or under QEMU.
Targets publish all needed files for each platform under Runs.
Important
When you create platform builds later on, the Factory image and artifacts may follow a slightly different naming pattern, such as lmp-factory-image-<machine_name>.
Flashing the Image#
The flashing procedure is board specific and we cover separate steps in Flashing Instructions. Please refer to this section for specifics on flashing your system image using the vendor provided tools. See QEMU for booting Qemu images.
Note
The Linux microPlatform (LmP) enforces eMMC boot whenever possible as this is the path to enable all security features it provides. So for platforms with available eMMC, such as the NXP® i.MX EVKs, booting from eMMC rather than SD is highly recommended and enabled by default.
Booting and Connecting to the Network#
After flashing and booting the board with the respective steps for your hardware, follow these steps to connect to the network.
Note
By default, the username and password to log in your device after boot are fio/fio. We recommend changing them once you are in development.
Ethernet works out of the box if a DHCP server is available on the local network.
Connect an Ethernet cable to the board. Your board will connect to the network via Ethernet soon after booting.
LmP uses nmcli and NetworkManager to manage network connectivity.
If you are starting without any network connectivity that would give you shell access to your device (like SSH), you will need to connect via UART serial before setting up a WiFi connection. You may need to refer to your hardware vendor’s documentation on UART serial access. We cover the steps to access UART serial for some platforms in Flashing Instructions.
Once you have gained shell access to the device, log in with fio/fio username and password. After logged, you can add a new WiFi SSID by using nmcli:
device:~$ sudo nmcli device wifi connect NETWORK_SSID password NETWORK_PASSWORD
Logging in via SSH#
To login via SSH, run:
$ ssh fio@<machine-name>.local
Where fio is the username and <machine-name> is the hostname of your device. The default password is fio.
By default, your device hostname is set to a unique string that specify the platform chosen during Factory creation (machine). Check Board Machine Names for a list of supported platform and their machine values.
Tip
Here are some examples of default hostnames:
raspberrypi4-64.localintel-corei7-64.localNote
For this to work, your PC needs to support zeroconf. The hostname must be unclaimed.
If this does not work, see Troubleshooting below for advice.
Troubleshooting#
If the above methods to SSH into your board do not work, there are additional things to try.
Get the IP address of your device:
Temporarily enable and connect to the UART serial (detailed steps for some platforms can be found in Flashing Instructions) and determine available IP addresses with:
Ethernet:
device:~$ ip addr show eth0 scope global
WiFi:
device:~$ ip addr show wlan0 scope global
Or list the connected devices and their local IP addresses on your network router’s administrative interface.
Connect to the device by IP address:
$ ssh fio@<ip-address>