Versal AI Core Series VCK190 Evaluation Kit
Preparation
Attention
Replace the <factory> placeholder below with the name of your Factory.
Download the necessary files from
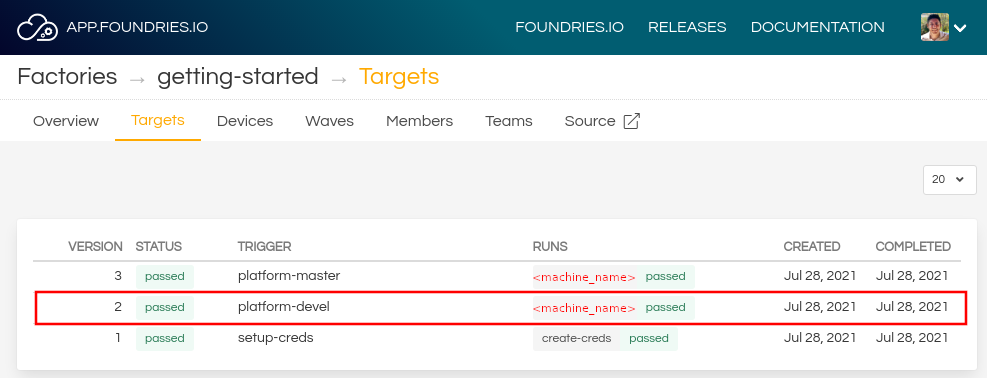
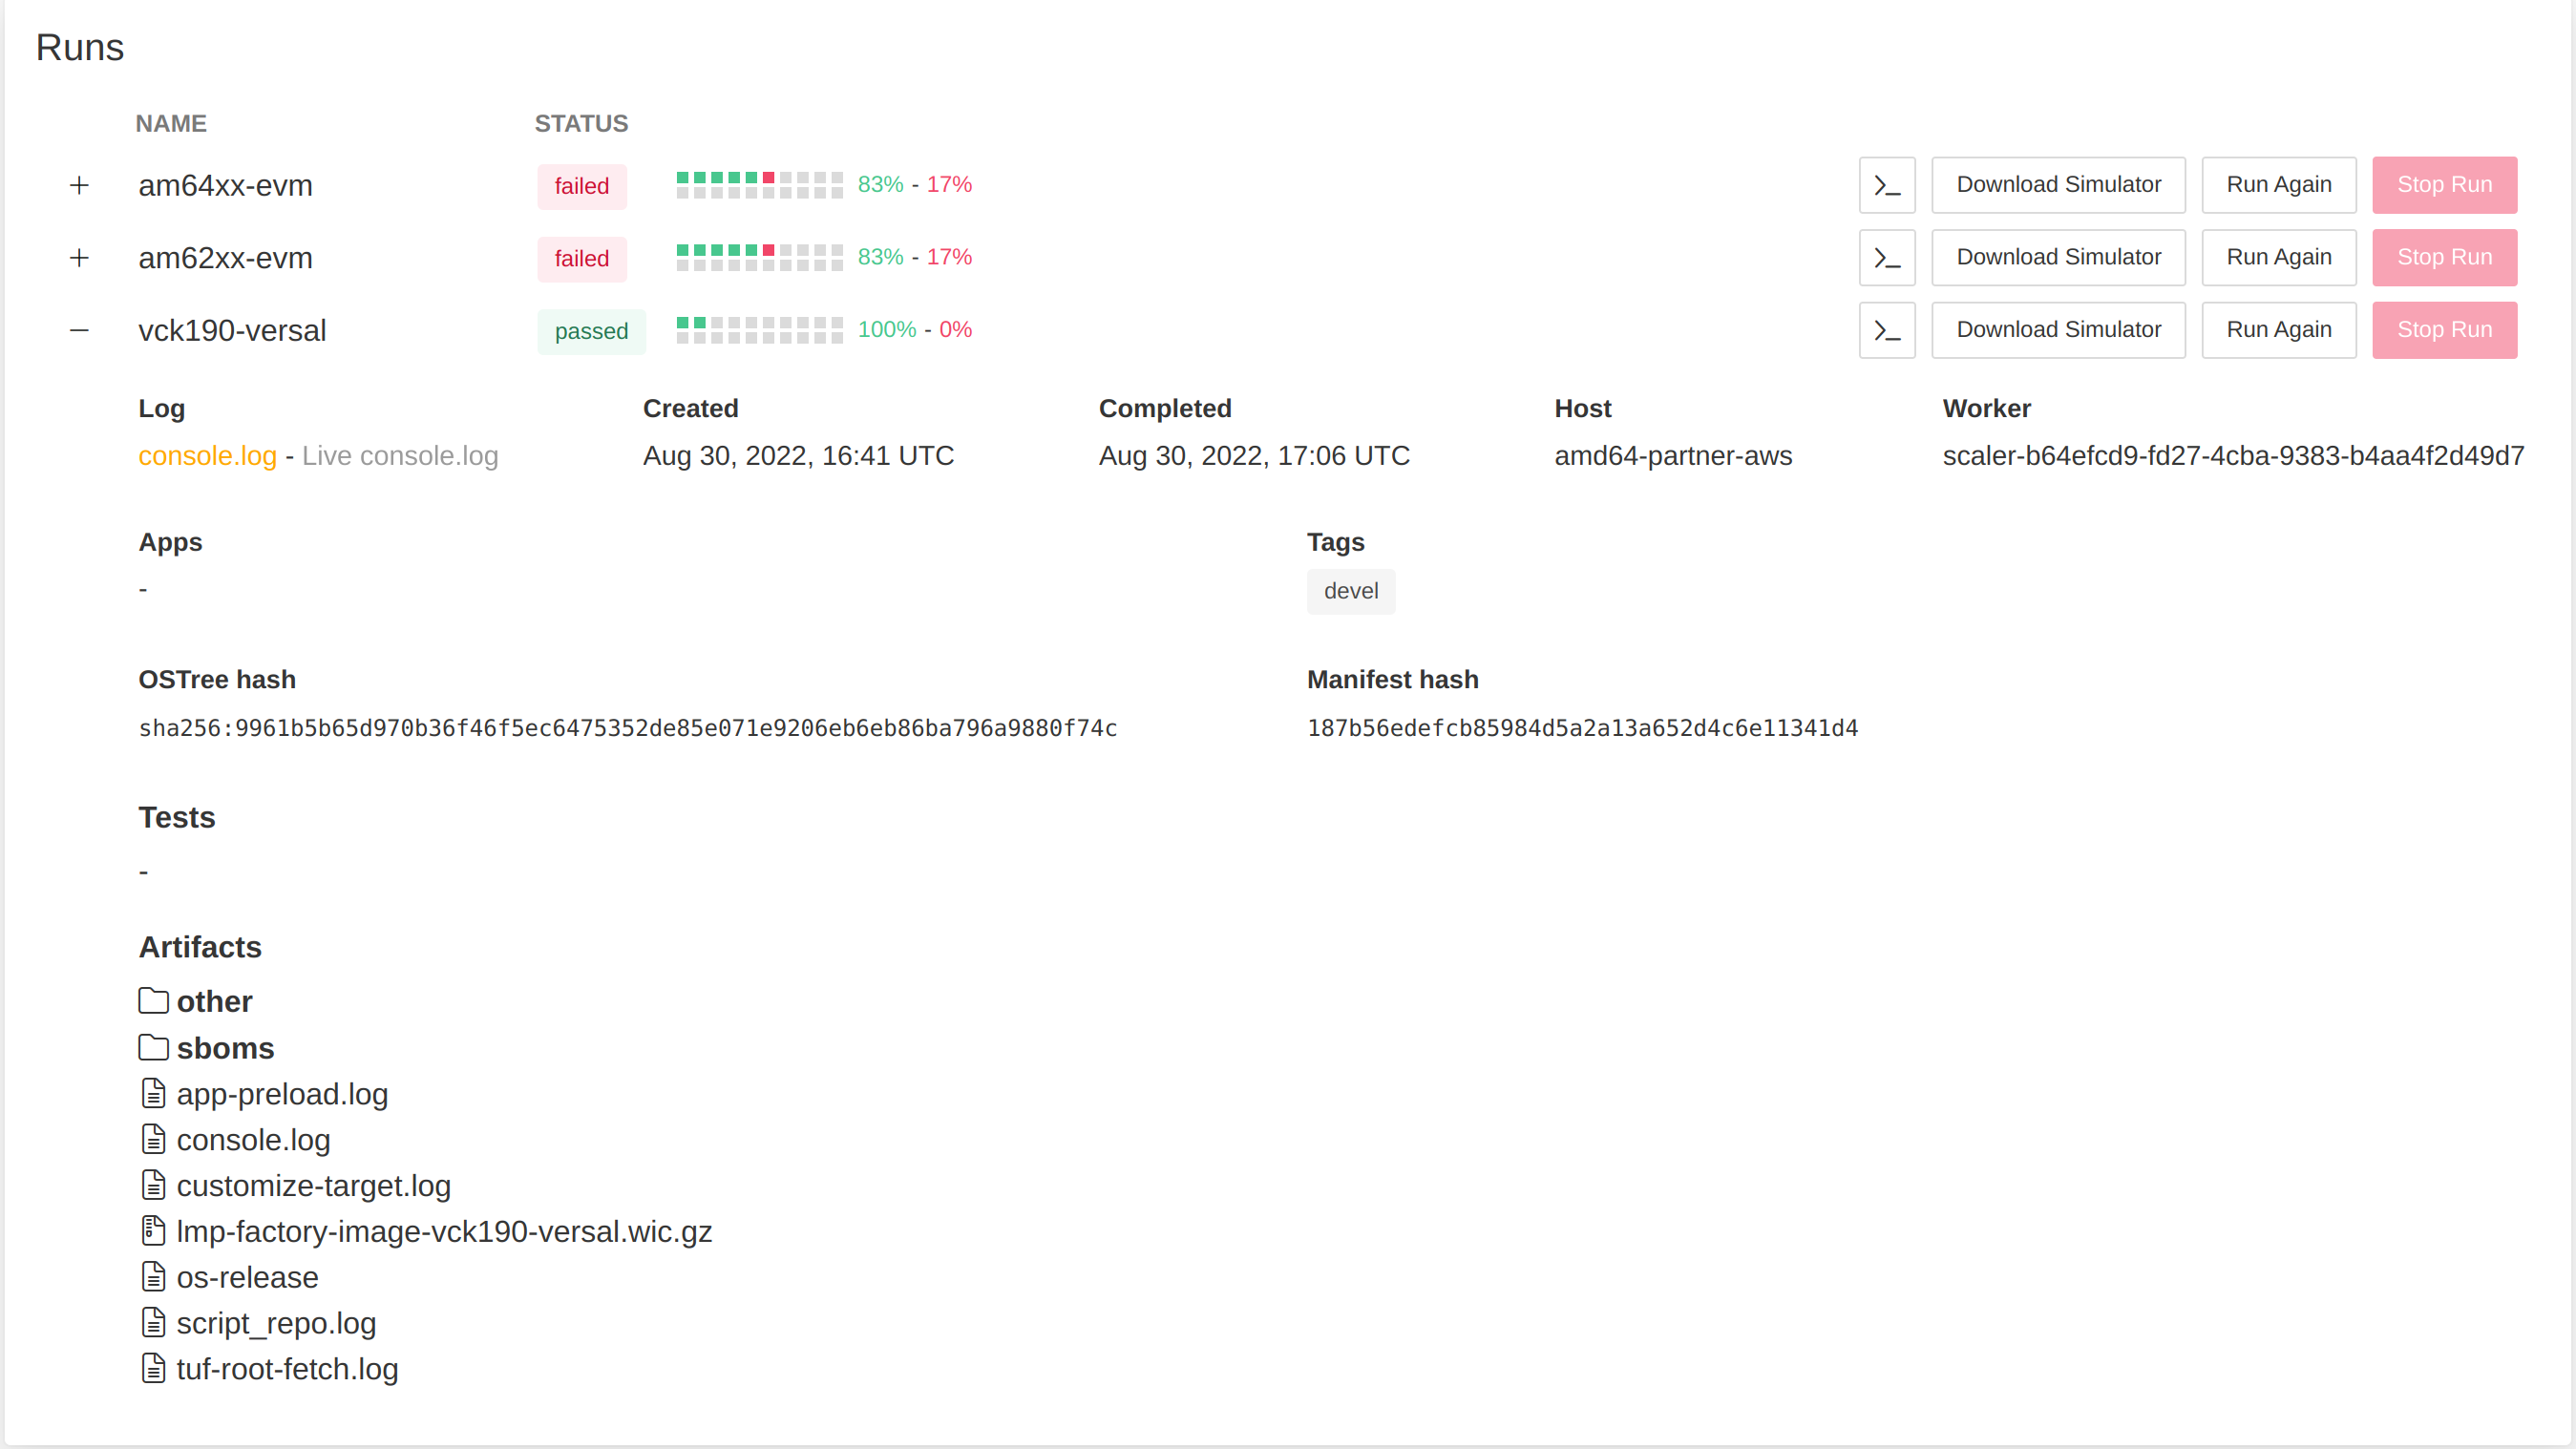
https://app.foundries.io/factories/<factory>/targets:Extract the file
lmp-factory-image-<machine-name>.wic.gz:gunzip lmp-factory-image-<machine-name>.wic.gz
Write the file to an SD card:
dd if=lmp-factory-image-<machine-name>.wic of=/dev/xxx bs=1M status=progress
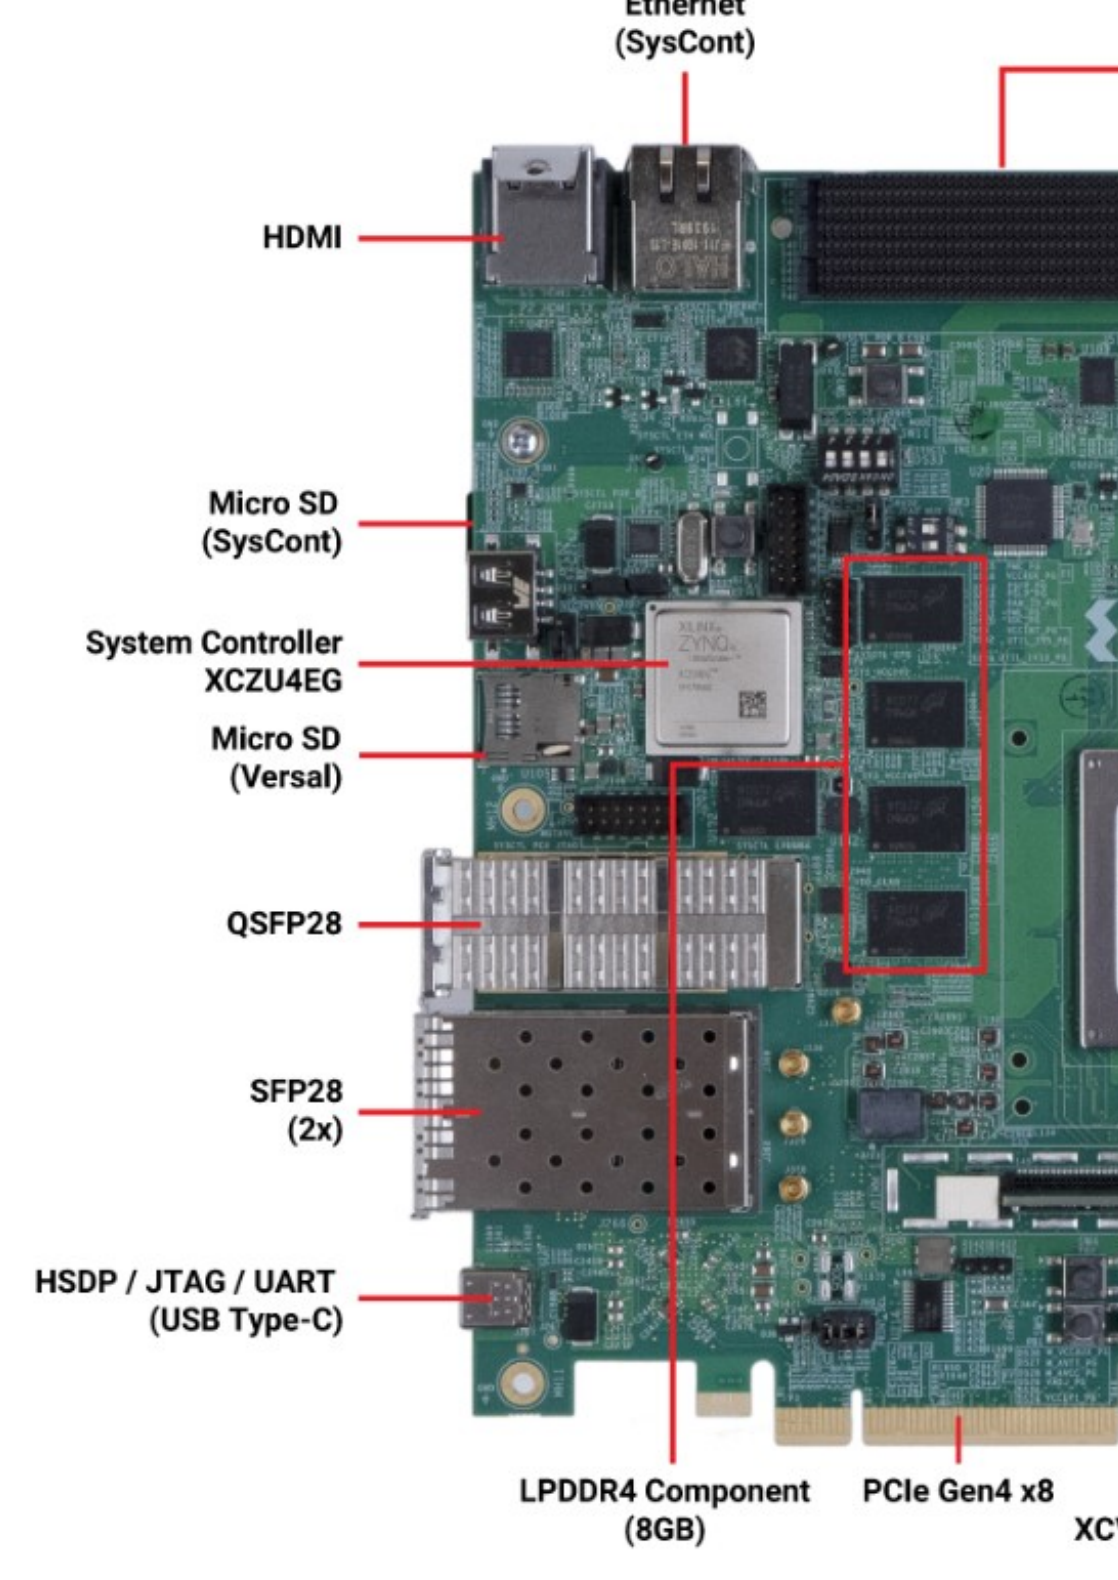
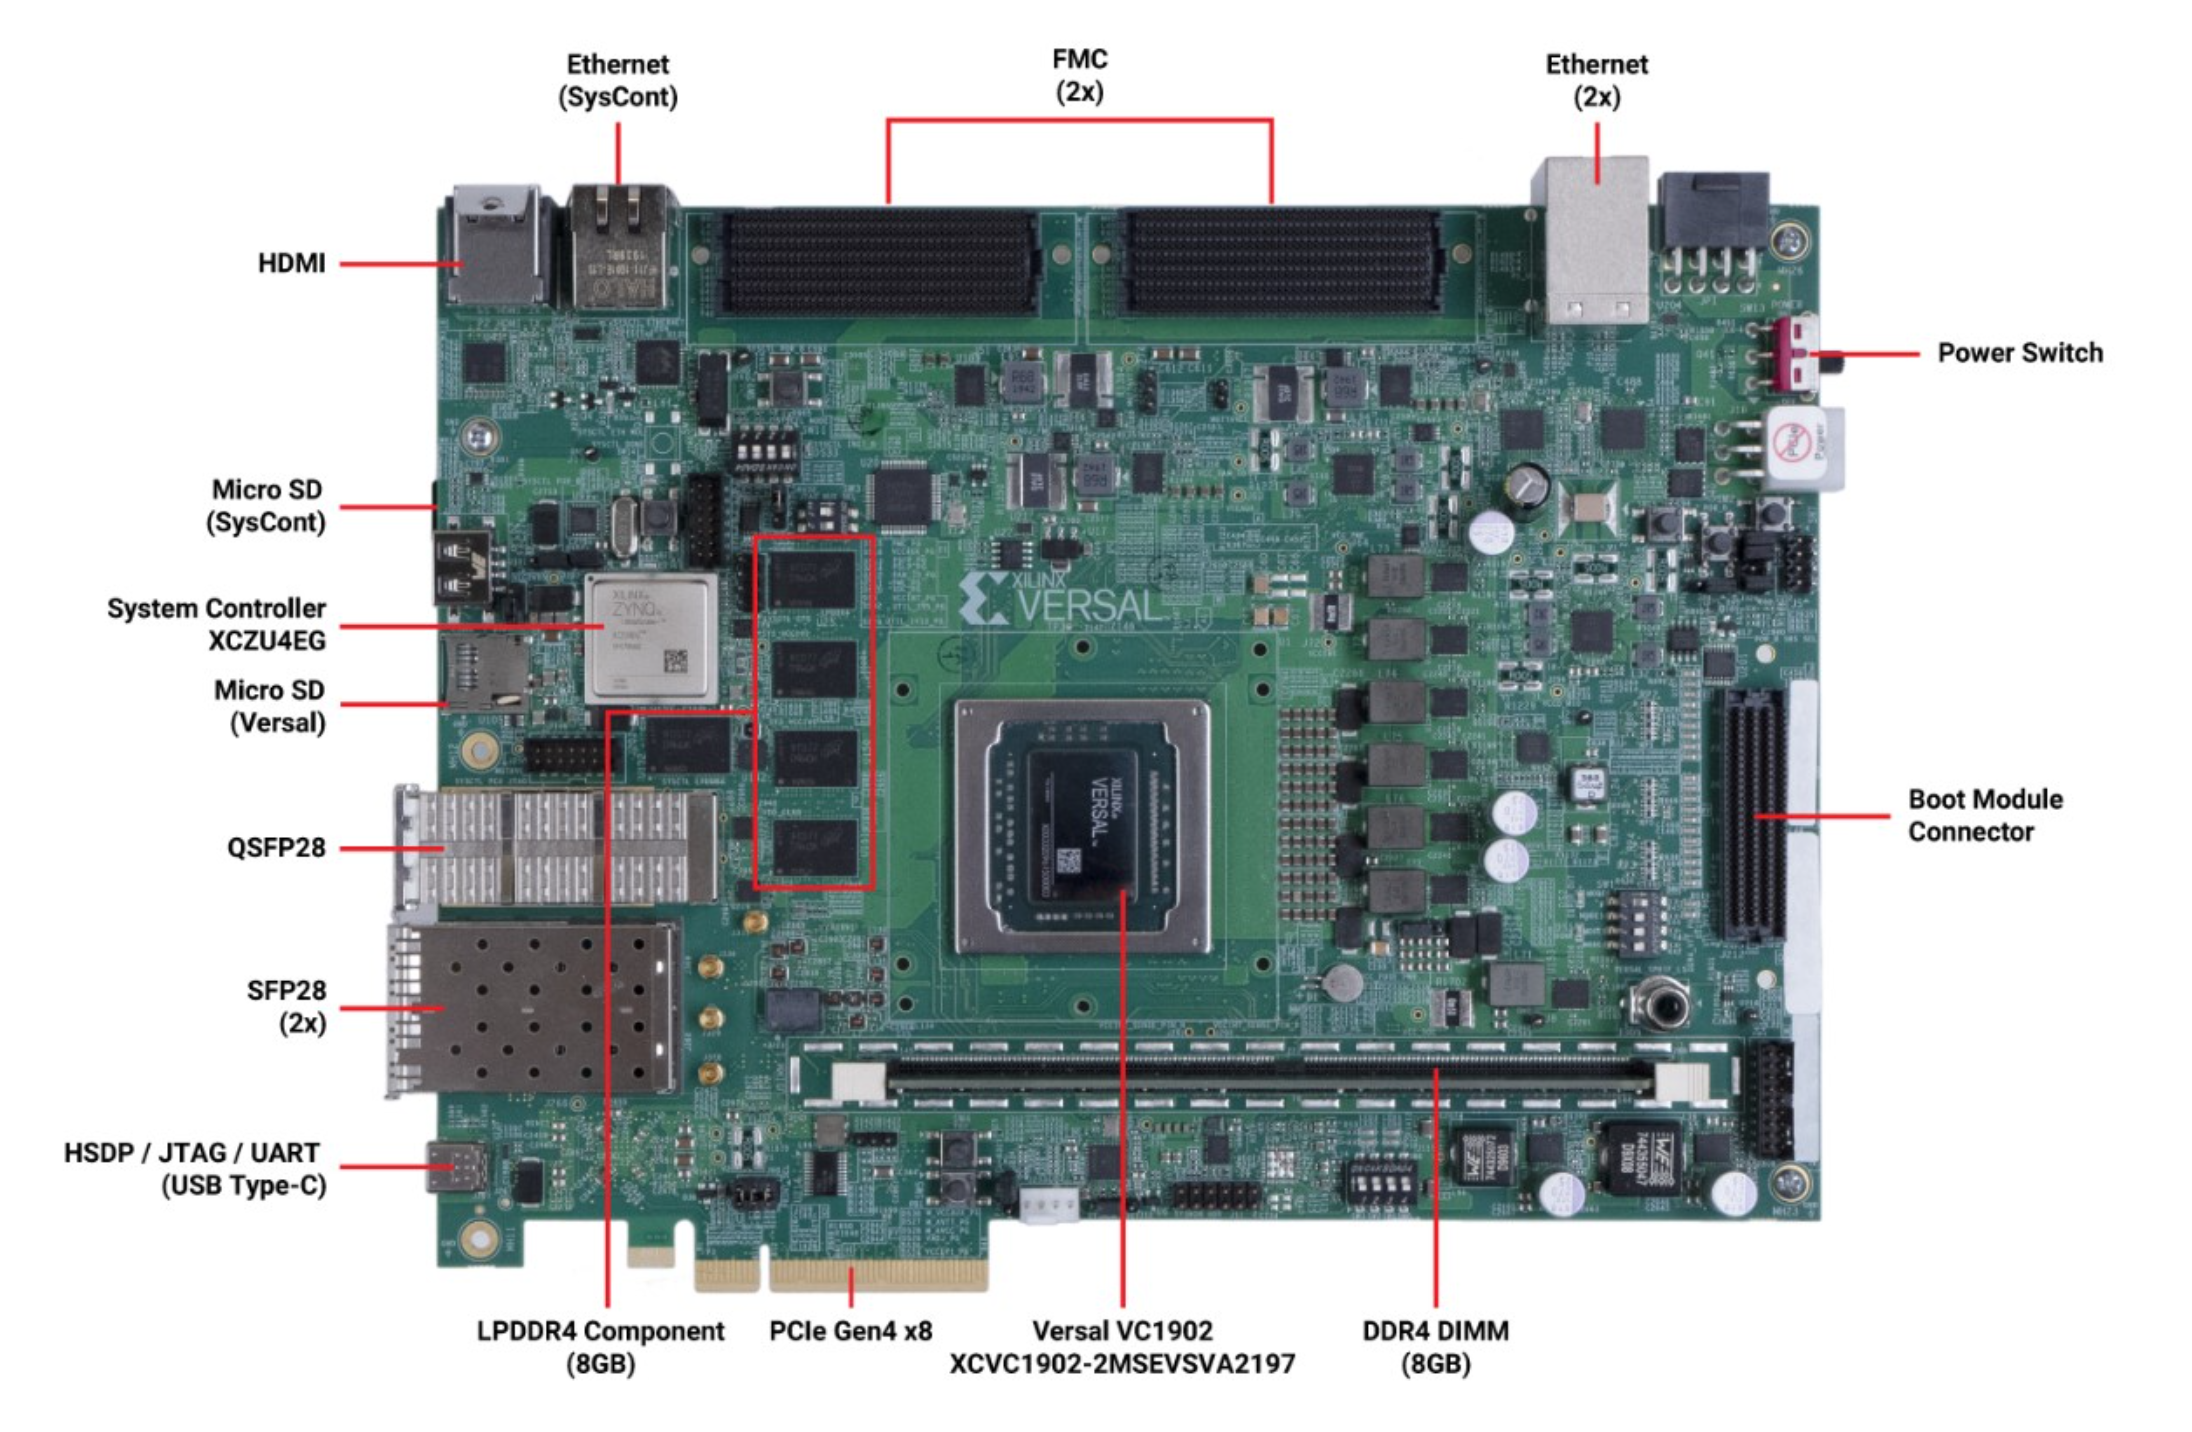
Plug the SD card in the Micro SD Versal slot.
Set the boot switches to SD mode.
Power up the board.
Hardware Preparation: Console/JTAG
Set up the board for accessing the console or using the JTAG interface
Using a USB Type-C cable, connect the board to the PC host.
Four UART connections will appear on the PC: one of them is a JTAG interface, and another one is a console.
On a Linux host for example you will see:
usb 1-14.4.4.3: new high-speed USB device number 117 using xhci_hcd
usb 1-14.4.4.3: New USB device found, idVendor=0403, idProduct=6011, bcdDevice= 8.00
usb 1-14.4.4.3: New USB device strings: Mfr=1, Product=2, SerialNumber=3
usb 1-14.4.4.3: Product: VCK190
usb 1-14.4.4.3: Manufacturer: Xilinx
usb 1-14.4.4.3: SerialNumber: 532143136405
ftdi_sio 1-14.4.4.3:1.0: FTDI USB Serial Device converter detected
usb 1-14.4.4.3: Detected FT4232H
usb 1-14.4.4.3: FTDI USB Serial Device converter now attached to ttyUSB4
ftdi_sio 1-14.4.4.3:1.1: FTDI USB Serial Device converter detected
usb 1-14.4.4.3: Detected FT4232H
usb 1-14.4.4.3: FTDI USB Serial Device converter now attached to ttyUSB5
ftdi_sio 1-14.4.4.3:1.2: FTDI USB Serial Device converter detected
usb 1-14.4.4.3: Detected FT4232H
usb 1-14.4.4.3: FTDI USB Serial Device converter now attached to ttyUSB6
ftdi_sio 1-14.4.4.3:1.3: FTDI USB Serial Device converter detected
usb 1-14.4.4.3: Detected FT4232H
usb 1-14.4.4.3: FTDI USB Serial Device converter now attached to ttyUSB7
Inspection of these new devices will show:
$ ls -la /dev/serial/by-id/
total 0
lrwxrwxrwx 1 root root  13 sep  5 10:48 usb-Xilinx_VCK190_532143136405-if00-port0 -> ../../ttyUSB4
lrwxrwxrwx 1 root root  13 sep  5 10:48 usb-Xilinx_VCK190_532143136405-if01-port0 -> ../../ttyUSB5
lrwxrwxrwx 1 root root  13 sep  5 10:48 usb-Xilinx_VCK190_532143136405-if02-port0 -> ../../ttyUSB6
lrwxrwxrwx 1 root root  13 sep  5 10:48 usb-Xilinx_VCK190_532143136405-if03-port0 -> ../../ttyUSB7
Console Hardware Configuration
Power off the board.
Using a serial terminal program like minicom, connect to the port with
usb-Xilinx_VCK190_532143136405-if01-port0in the name (in this example ttyUSB5) and apply the following configuration:- Baud rate: 115200 - Data bits: 8 - Stop bit: 1 - Parity: None - Flow control: None
Power on the board.
You should see the Versal console printing out the boot sequence.
JTAG Hardware Preparation
Important
The following steps assume that the Xilinx Serial Software Comamnd-Line Tool is installed on the system.
Configure the boot switches in the VCK190 for JTAG mode:
Prepare the boot script:
$ cat boot.tcl
connect
after 1000
target 1
rst
targets -set -nocase -filter {name =~ "*Versal*"}
device program "/tmp/boot.bin"
Power up the board.
Boot the image by executing the tcl script:
$ xsct boot.tcl
This will boot the system up to the U-boot shell.
Tip
If an LmP ready SD card is already in the Versal SD slot, you can continue booting the Linux kernel from it.


