Kria KV260 Vision AI Starter Kit
Preparation
Ensure you replace the <factory> placeholder below with the name of your
Factory.
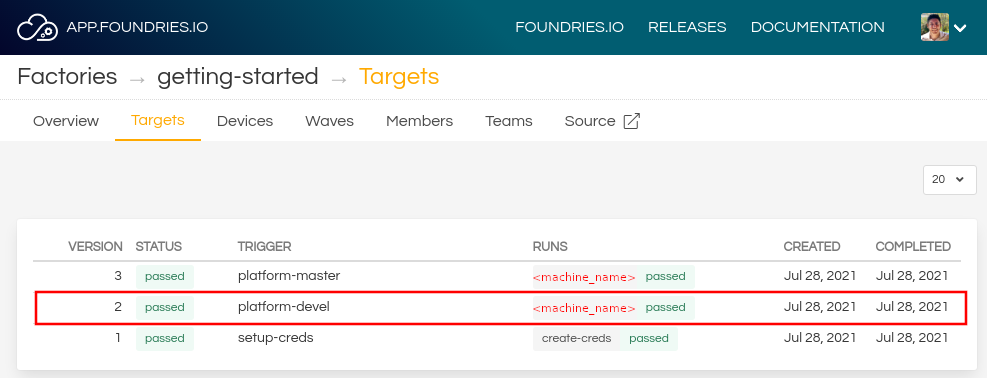
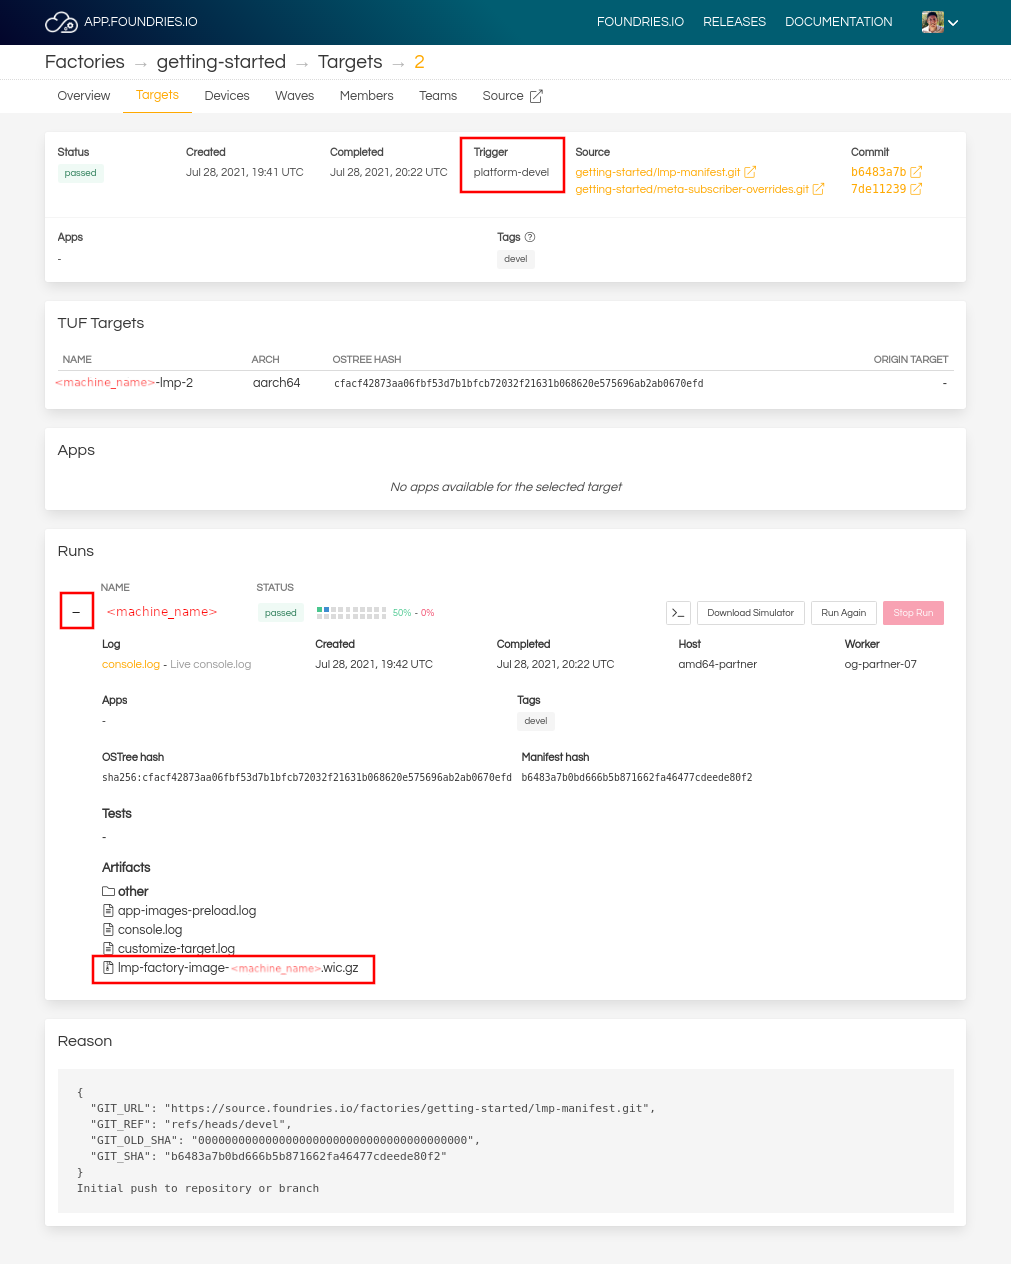
Download necessary files from
https://app.foundries.io/factories/<factory>/targets
Hardware Preparation

- Ensure that the power code is disconnected.
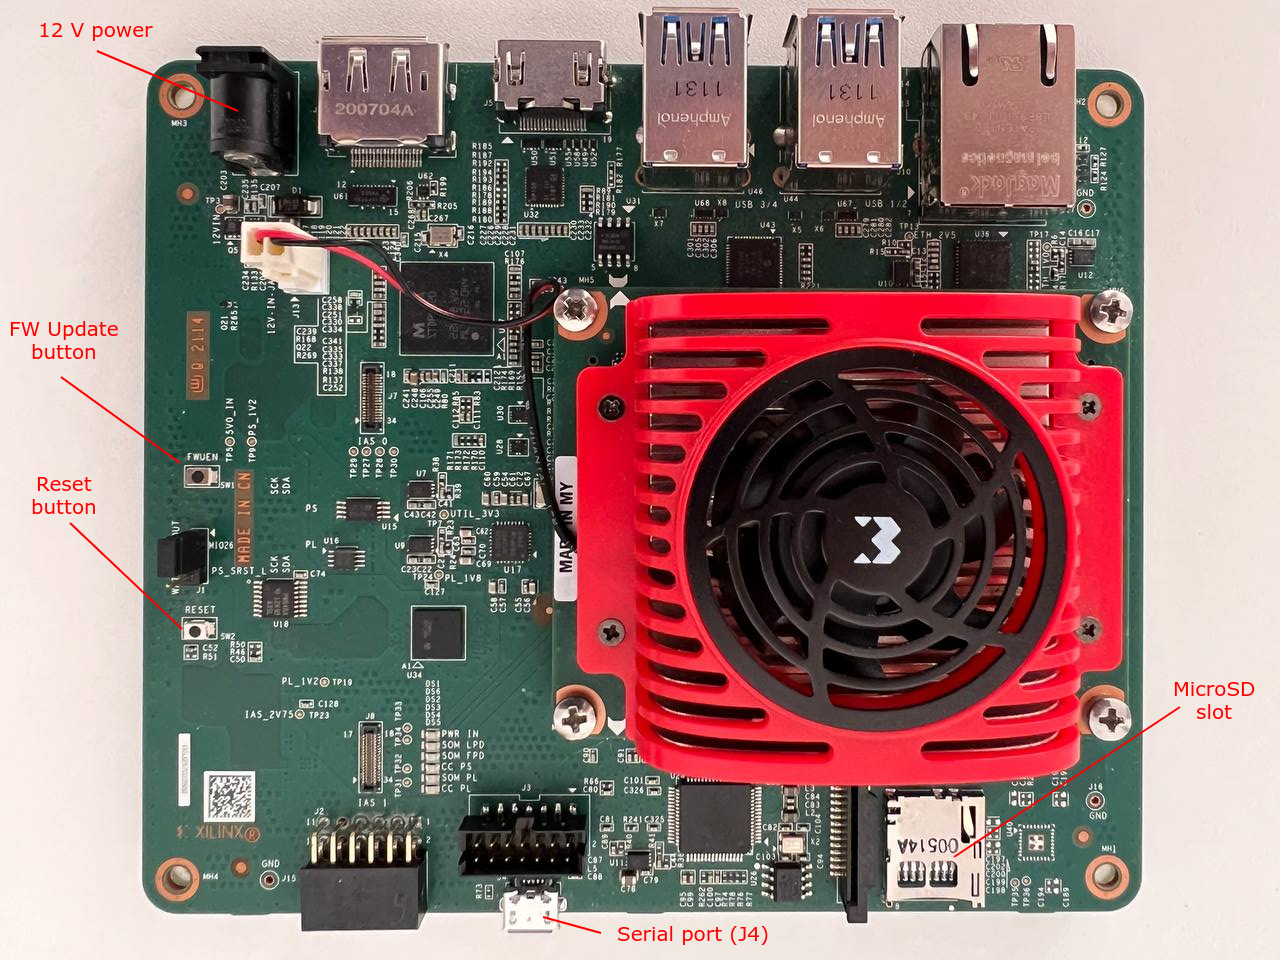
- Connect the Micro-USB cable to the
J4connector for serial console output.
Flashing and Boot
Flashing an SD Card
Note
Device names and IDs can slightly differ from the steps below.
Determine the disk you want to flash by finding the device with the
SIZEthat matches your flash drive in the list below. Be sure to ignore partitions (whereTYPEispart). Save theNAMEfor your flash drive to be used in a later step as the disk path. e.g:/dev/mmcblk0,/dev/sdb:lsblk -po +MODEL
Example Output:
$ lsblk -po +MODEL
NAME             MAJ:MIN RM   SIZE RO TYPE MOUNTPOINT                 MODEL
/dev/mmcblk0     179:0    0  29.8G  0 disk
├─/dev/mmcblk0p1 179:1    0  41.6M  0 part /mnt/boot
└─/dev/mmcblk0p2 179:2    0  29.8G  0 part /mnt/otaroot
/dev/zram0       254:0    0    26G  0 disk /out
/dev/nvme0n1     259:0    0 953.9G  0 disk                            SSDPEKKF010T8 NVMe INTEL 1024GB
Flash the disk.
Replace<system-image>with the path to your system image.Replace/dev/mmcblk<X>with your chosen disk path.
gunzip -c <system-image> | sudo dd of=/dev/mmcblk<X> bs=4M iflag=fullblock oflag=direct status=progress
Determine the disk you want to flash by finding the device with the
SIZEthat matches your flash drive in the list below. Be sure to ignore partitions (lines without the * in theSIZE). Save theIDENTIFIERfor your flash drive to be used in a later step as the disk path. e.g:/dev/disk3:diskutil list
Example Output:
$ diskutil list
/dev/disk3 (internal, physical):
   #:                       TYPE NAME                    SIZE       IDENTIFIER
   0:     FDisk_partition_scheme                        *15.5 GB    disk3
   1:             Windows_FAT_32 boot                    45.7 MB    disk3s1
   2:                      Linux                         15.5 GB    disk3s2
Flash the disk.
Replace<system-image>with the path to your system image.Replace/dev/disk<X>with your chosen disk path.
gunzip -c <system-image> | sudo dd of=/dev/disk<X> bs=4M
Windows has no dd like tool built into the operating system to flash
your image to disk. In this case, we recommend you download and use either
Win32 Disk Imager or Rufus.
Note
Your system image is in a compressed wic.gz format. To follow these next steps, you must extract it using a tool like 7zip which will leave you with a .wic image file.
Using Rufus
- Download and run Rufus.
- Select your disk.
- SELECT your
<system-image>. - START the flash procedure.
Using Win32 Disk Imager
- Download and run Win32 Disk Imager as Administrator.
- Click the blue folder icon.
- Select your
<system-image> - Select your disk via the Device dropdown.
- Click Write
- Wait for the image to finish writing, and a Write Successful dialog will appear.
- Remove the flash drive from the host and insert/connect it into the board.
- Power on the board to boot the new image.
Flashing QSPI Boot Images
The SoM Starter Kits use a two stage boot process:
- The primary boot firmware is pre-installed at the factory on the QSPI device.
- The secondary boot device is an SD card containing the Linux kernel and system root.
The Xilinx Starter Kit carrier card hardware design sets and factory-locks the MPSoC boot mode to QSPI32. The SoM boots up to U-Boot using the QSPI contents and U-Boot then does a hand-off to the secondary boot device. To replace the boot image on QSPI device with LmP boot images, they have to be manually flashed to QSPI using pre-installed U-Boot bootloader shell, which will be automatically booted on the first boot:
> sf probe; setenv bootseq 1; mmc dev ${bootseq};
> setenv loadaddr 0x8000000;
> fatload mmc ${bootseq}:1 ${loadaddr} boot0001.bin;
> sf update ${loadaddr} 0x200000 ${filesize};
> sf update ${loadaddr} 0xF80000 ${filesize};
> fatload mmc ${bootseq}:1 ${loadaddr} u-boot0001.itb;
> sf update ${loadaddr} 0x300000 ${filesize};
> sf update ${loadaddr} 0x1080000 ${filesize};
> reset
After reboot, LmP U-Boot serial output is shown:
U-Boot SPL 2022.01+xlnx+g37fad64d18 (Apr 19 2022 - 15:29:09 +0000)
PMUFW:      v1.1
Loading new PMUFW cfg obj (2200 bytes)
Silicon version:    3
EL Level:   EL3
Multiboot:  1
Trying to boot from MMC2
SPL: Booting u-boot0001.itb
## Checking hash(es) for config config-1 ... OK
## Checking hash(es) for Image atf ... sha256+ OK
## Checking hash(es) for Image uboot ... sha256+ OK
## Checking hash(es) for Image ubootfdt ... sha256+ OK
## Checking hash(es) for Image optee ... sha256+ OK
## Checking hash(es) for Image fpga ... sha256+ OK

U-Boot 2022.01+xlnx+g37fad64d18 (Apr 19 2022 - 15:29:09 +0000)
Recovery
If boot images are eventually corrupted, Kria KV260 Vision AI Starter Kit
provides a Image Recovery application. The Image Recovery application is a
baremetal application that uses a web-browser-user interface. It is
invoked when the FW-update (FWUEN) button is pressed at power-on,
or automatically, when both image A and image B becomes un-bootable.
It can be used to directly update the A/B images and persistent register
states.
Read the Boot Firmware Image Recovery page for more details on this application.

