Set up the board for updating using the manufacturing tools:
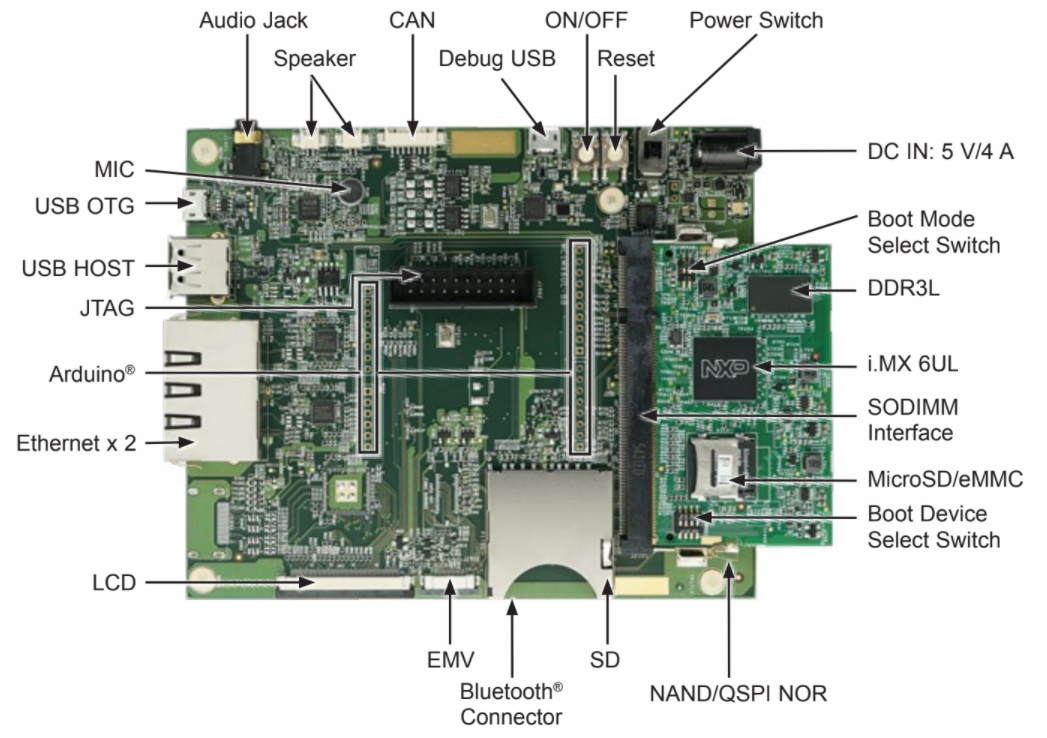
Top view of imx6ulevk
OPTIONAL. Only required if you have problems or want to see the boot console output.
Connect the micro-B end of the USB cable into debug port J1901.
Connect the other end of the cable to a PC acting as a host terminal.
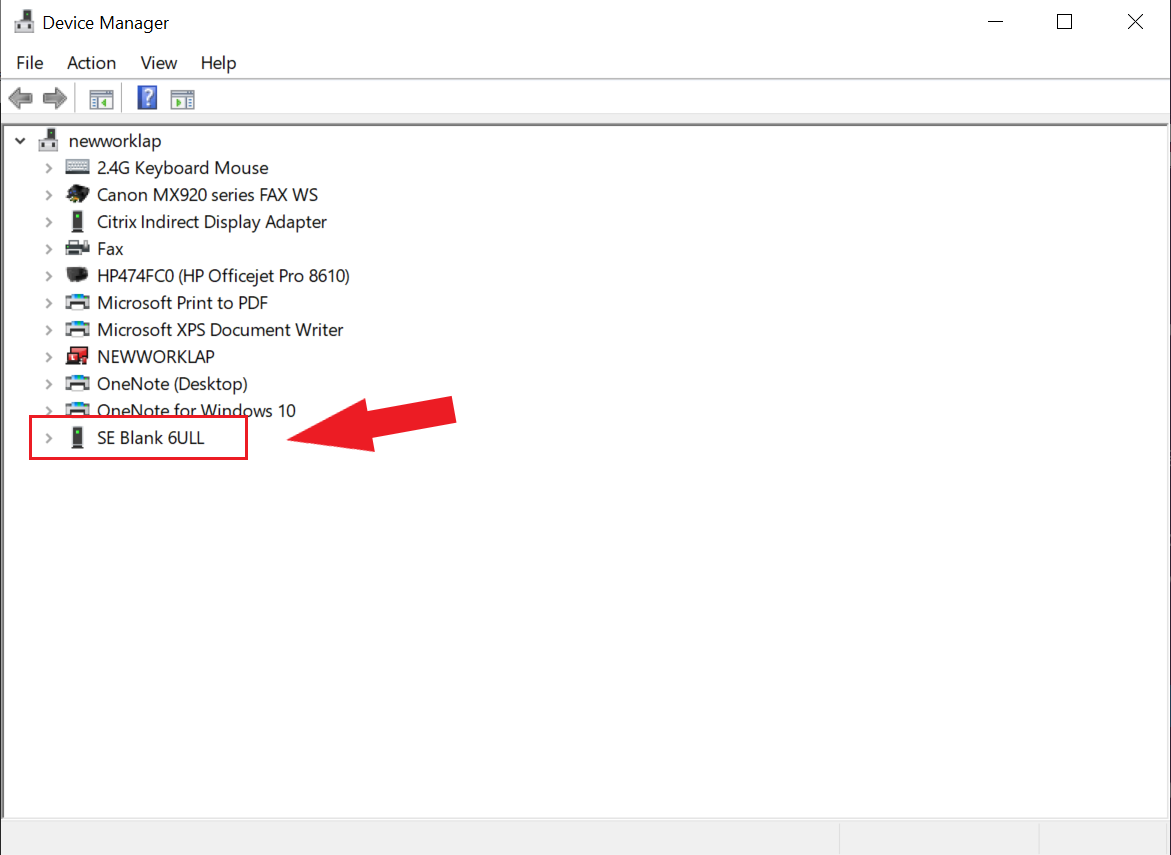
One UART connections will appear on the PC. For example, on a Linux host:
Using a serial terminal program like minicom,
connect to the port with if00 in the name (in this example ttyUSB2).
Apply the following configuration:
Baud rate: 115200
Data bits: 8
Stop bit: 1
Parity: None
Flow control: None
Ensure that the power is off (SW2001)
Put the imx6ulevk into programing mode:
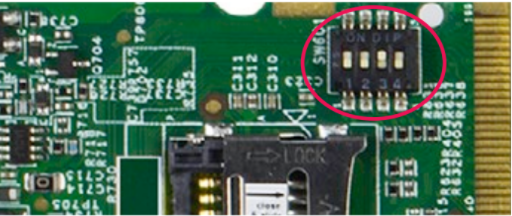
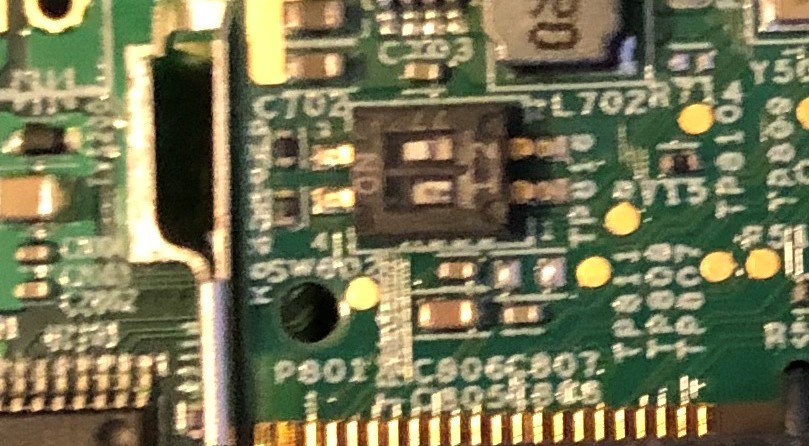
Switch SW602 to OFF, ON (from 1-2 bit) to Download Mode.
Location of SW602 dip switch on imx6ulevk
Connect your computer to the imx6ulevk board via the micro-B port 1 DownloadUSB OTG jack.
Connect the 5V power plug to the port 2 PowerJ2001 jack.
Power on the imx6ulevk board by sliding power switch SW2001 to ON.