Set Up Basic LWM2M System
Now that you have installed the Zephyr and Linux microPlatforms, it’s time to use them to set up an end-to-end IoT demonstration system using the OMA Lightweight M2M (LWM2M) protocol.
A block diagram of this system is shown here. Though it is not explicitly shown, one or more IoT devices can connect to the network through the same gateway.
The system contains Zephyr-based IoT devices, a Linux-based IoT gateway, and a web application, Leshan, that is used as the LWM2M server. With Leshan, you can issue commands, query data, and perform firmware over the air (FOTA) updates on the IoT device(s).
Using the demonstration system described here, you can:
- See live data readings from your devices using the Leshan web application.
- Send commands to the device, such as turning on and off an LED.
- Use Leshan to update your IoT device firmware.
For simplicity, this basic system does not secure its network communications. Instructions in the next page describe how to set up secure channels using the DTLS protocol.
Prepare the System
Set up IoT Gateway
The gateway-containers project includes a simple docker-compose file that can start up a minimal set of containers to support this tutorial. Log into your gateway using SSH and then run:
git clone https://github.com/foundriesio/gateway-containers.git

cd gateway-containers
docker-compose up -d
You can watch the logs of the containers with:
# From your gateway-containers directory:
docker-compose logs -f            # tail logs from all containers
docker-compose logs -f bt-joiner  # tail logs for a single container
To get a list of running containers, use docker ps.
Your gateway device is now ready for use.
Set up IoT Device(s)
First, install the Zephyr microPlatform as described in Install Zephyr microPlatform.
Then, build and flash the basic LWM2M system’s application.
Important
Do not skip the ZmP installation step. Make sure MCUboot is flashed on your device!
Warning
The basic application does not have any end-to-end network communication security. You can enable DTLS-based security on nRF52840 devices using instructions in the next document in this tutorial.
nRF52 DK (nRF52832)
west build -s zmp-samples/dm-lwm2m -d build-dm-lwm2m -b nrf52_pca10040
west sign -t imgtool -d build-dm-lwm2m -- --key mcuboot/root-rsa-2048.pem
west flash -d build-dm-lwm2m --hex-file zephyr.signed.hex
nRF52840 DK
west build -s zmp-samples/dm-lwm2m -d build-dm-lwm2m -b nrf52840_pca10056
west sign -t imgtool -d build-dm-lwm2m -- --key mcuboot/root-rsa-2048.pem
west flash -d build-dm-lwm2m --hex-file zephyr.signed.hex
Use the System
Now that your system is fully set up, it’s time to check that sensor data are being sent to the cloud, and do a FOTA update.
Look in your IoT device console for a log line ending in something like this:
LWM2M Endpoint Client Name: zmp:sn:deadbeef
Above, the value zmp:sn:deadbeef is your device’s client ID, which
it uses to register with the LWM2M server. Look for that ID in the
clients list at https://mgmt.foundries.io/leshan/#/clients, and click
on it to view available LWM2M objects on your device.
Note
This LWM2M server interface is provided by Foundries.io only for ease of use bringing up the system and prototyping. Availability etc. are not guaranteed.
Read and Write Objects
When a device registers with the Leshan server, Leshan will automatically render known object types in its web interface. You can interact with these objects by clicking the Read, Write, etc. buttons which appear next to them.
Read device instance information
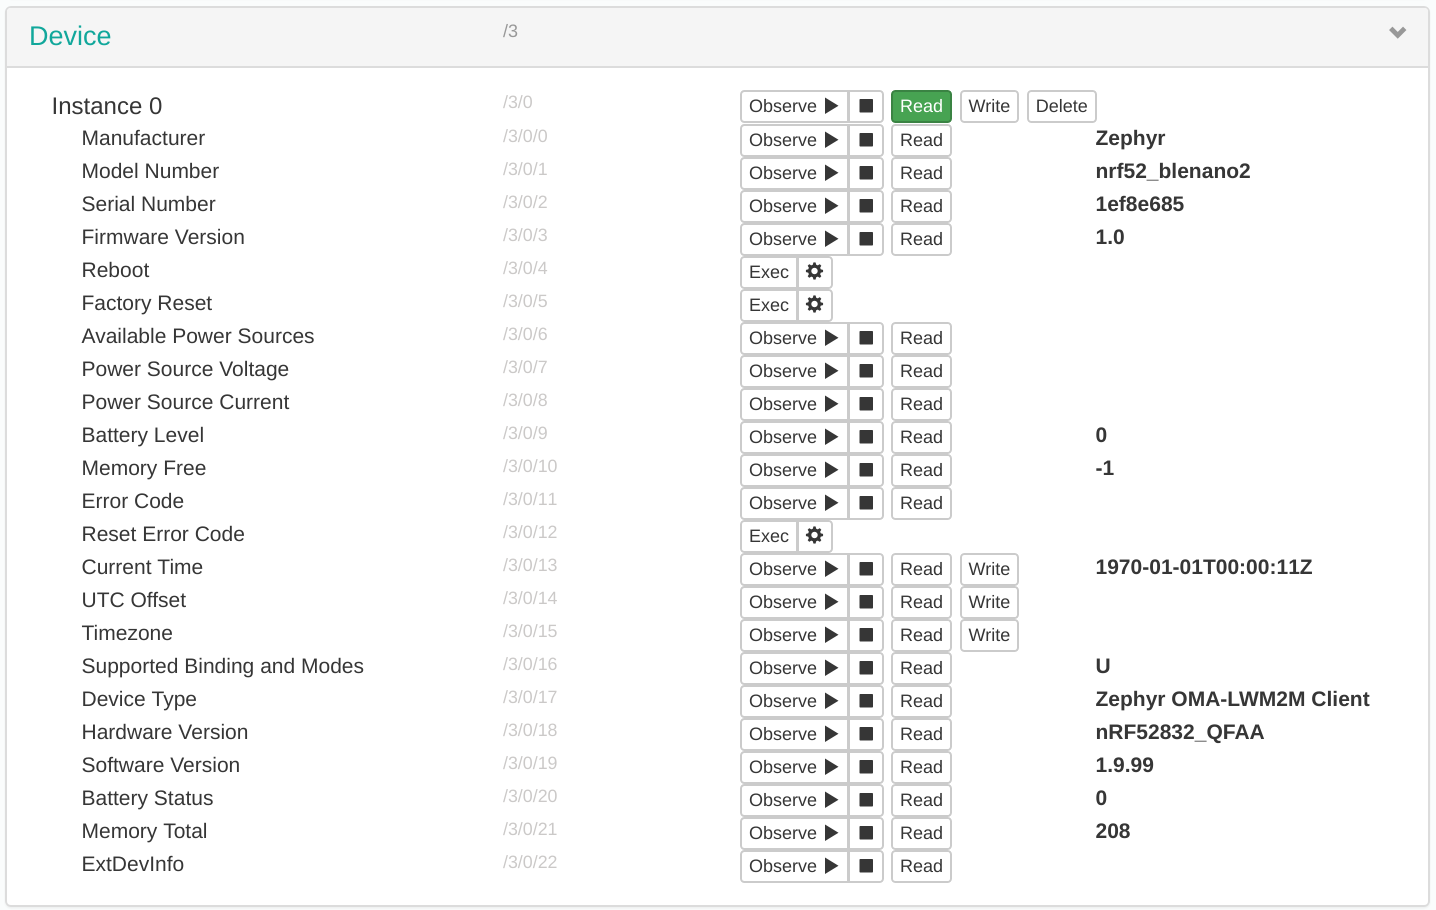
To read general device instance information, scroll down to “Device” > “Instance 0” and click the “Read” button as shown in the following figure.
Read current state of temperature and light objects
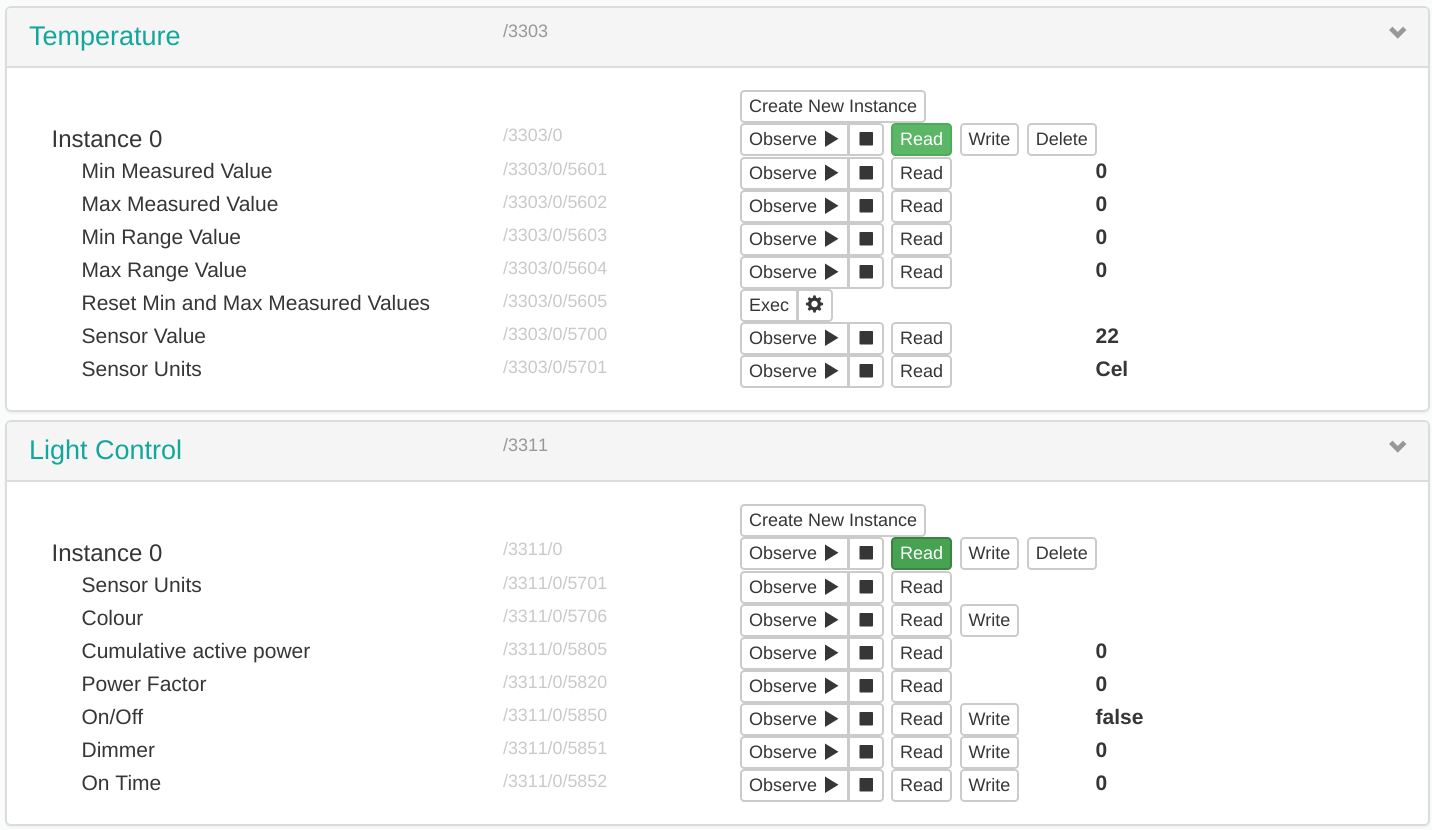
To read the current status of the temperature and light control objects, click the “Read” button next to each “Instance” of these objects as shown in the following figure.
Change state of the light object
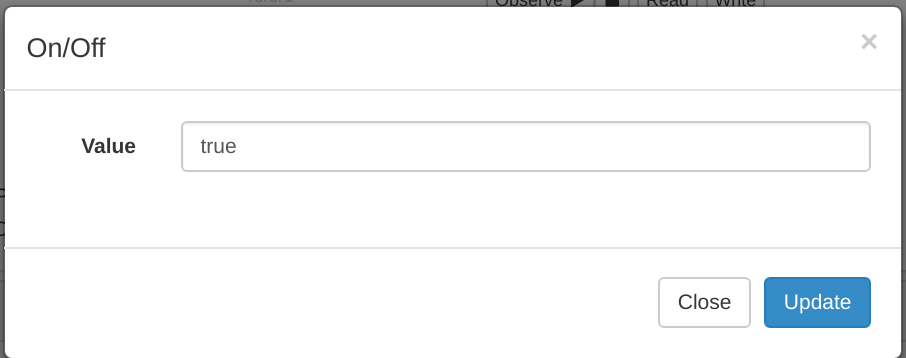
Click “Write” buttons to bring up interfaces for changing data. An example of this interface for the light object is shown here.
Initiate a Firmware Update
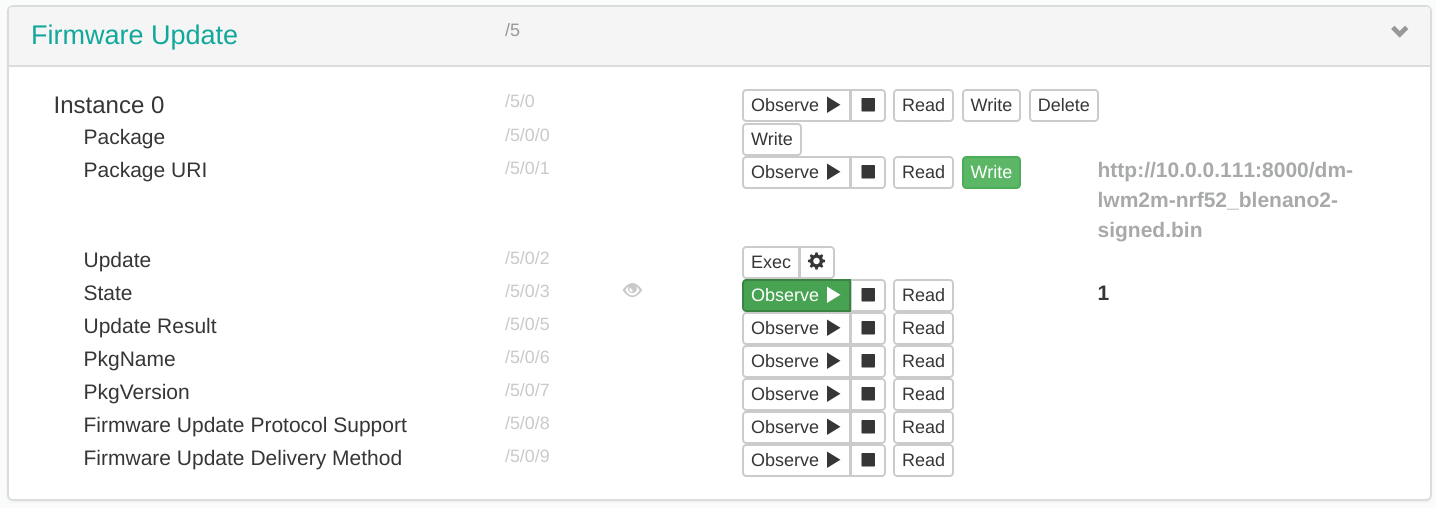
It’s now time to update the device firmware, using the Firmware Update object view in Leshan. This involves writing a URI where the firmware update is hosted to the “Package URI” field for this object. To keep things simple, you’ll “update” the firmware using the same binary you built previously, but you can also change and rebuild the program before following these steps to write new firmware.
Start a Python 3 HTTP server on your workstation from the directory
you ran west sign from earlier (the ZmP root directory):
python3 -m http.server
The signed firmware you created will then be available at this URL:
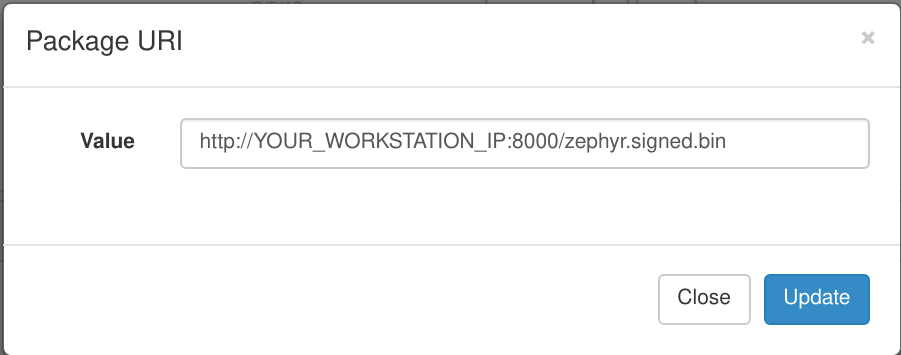
http://YOUR_WORKSTATION_IP:8000/zephyr.signed.bin
To start the firmware update, click the Write button for the “Package URI” field in the Firmware Update object, then write this value in the resulting popup, like so.
Once you click the Update button, the file will begin transferring to the target.
In general, the Package URI must be hosted where it is routable from
your IoT gateway, so if your workstation and the gateway are on the
same LAN, internal IP addresses should work. The URL scheme can be
either coap:// or http://. Due to firmware restrictions, the
length of the Package URI must be less than 255 characters.
Monitor for a Completed Transfer
Click the “Observe” button in the State line of the Firmware Update object:
The state values and their meanings are:
- 0: Idle
- 1: Downloading
- 2: Downloaded
- 3: Updating
If you’re connected to the device console, progress is logged as in the following example:
[00:10:36.893,066] <inf> fota_lwm2m: 85%
[00:10:39.038,146] <inf> fota_lwm2m: 86%
[00:10:40.939,575] <inf> fota_lwm2m: 87%
[00:10:42.889,495] <inf> net_lwm2m_rd_client: Update callback (code:2.4)
[00:10:42.889,495] <inf> net_lwm2m_rd_client: Update Done
[00:10:43.084,655] <inf> fota_lwm2m: 88%
[00:10:44.988,006] <inf> fota_lwm2m: 89%
[00:10:46.838,653] <inf> fota_lwm2m: 90%
Monitor the transfer until the State value is 2 (Downloaded):
Download completion is logged on the device console as in the following example:
[00:11:04.974,761] <inf> fota_lwm2m: 99%
[00:11:06.779,937] <inf> fota_lwm2m: 100%
Execute the Update
After the device has downloaded the update file, initiate the update by clicking on the “Exec” button on the Update line in Leshan.
The device console logs messages as it resets into the bootloader, MCUBoot, which will load the new image:
[00:12:08.061,584] <dbg> fota_lwm2m.firmware_update_cb: Executing firmware update
[00:12:08.061,614] <inf> fota_lwm2m: Update Counter: current -1, update -1
[00:12:09.253,540] <inf> fota_lwm2m: Rebooting device
***** Booting Zephyr OS v1.14.0-rc1-101-g316a7029bc *****
[00:00:00.004,455] <inf> mcuboot: Starting bootloader
[00:00:00.010,833] <inf> mcuboot: Image 0: magic=unset, copy_done=0x3, image_ok=0x1
[00:00:00.019,287] <inf> mcuboot: Scratch: magic=unset, copy_done=0xc0, image_ok=0x3
[00:00:00.027,832] <inf> mcuboot: Boot source: slot 0
[00:00:00.036,224] <inf> mcuboot: Swap type: test
[00:00:10.781,219] <inf> mcuboot: Bootloader chainload address offset: 0x8000
[00:00:10.788,726] <inf> mcuboot: Jumping to the first image slot
***** Booting Zephyr OS v1.14.0-rc1-101-g316a7029bc *****
starting test - Running Built in Self Test (BIST)
When the update execution is complete, the device will register with Leshan again.
Congratulations! You’ve just read and written objects, and done your first FOTA update using this system. Continue to the next page to secure LWM2M communications using DTLS.
Reporting Issues
Please report any issues to the Foundries.io Support Portal.
