Getting Started
To get started using the FoundriesFactory please follow the steps below:
Create an account
Visit https://app.foundries.io and you can create an account with our system or use your existing Github or Google account.
Verify your email address
When you create an account, an automated email is sent to you to verify your email. Follow the link in the email to verify your account.
Set your name for your profile
This is an optional step, but will help us identify your account quickly if you require support.
Login to https://app.foundries.io
In the upper right corner, select Preferences & Settings.
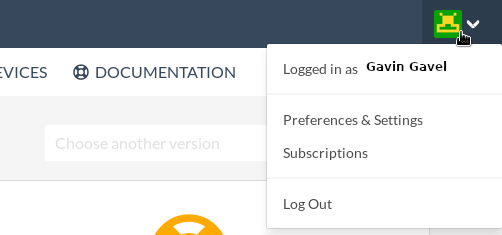
Settings pulldown menu
From the left menu, select Profile.
Enter your name, and select Save Profile
Create your factory
From the navigation bar, select Factories.

Select the Create Factory button.
Enter a name for the factory, contact email, and brief description.
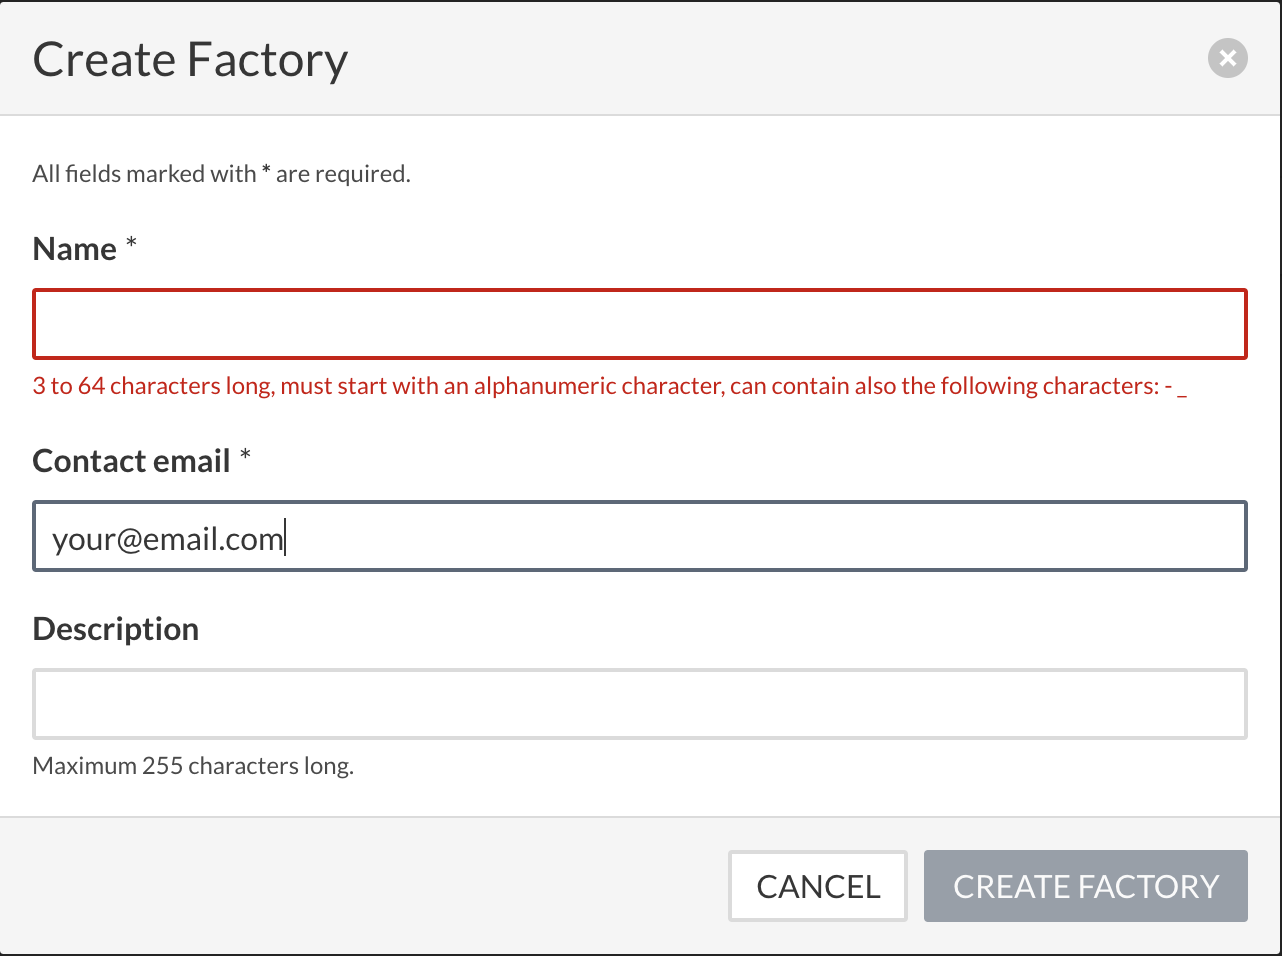
Then select the Create Factory button.
You have now created a factory, however to enable this factory, you must purchase a subscription.
Purchase a factory subscription
You will now see a factory has been created.

Select the i icon to view information about your factory.
Select the Billing tab.
Add a Billing Account
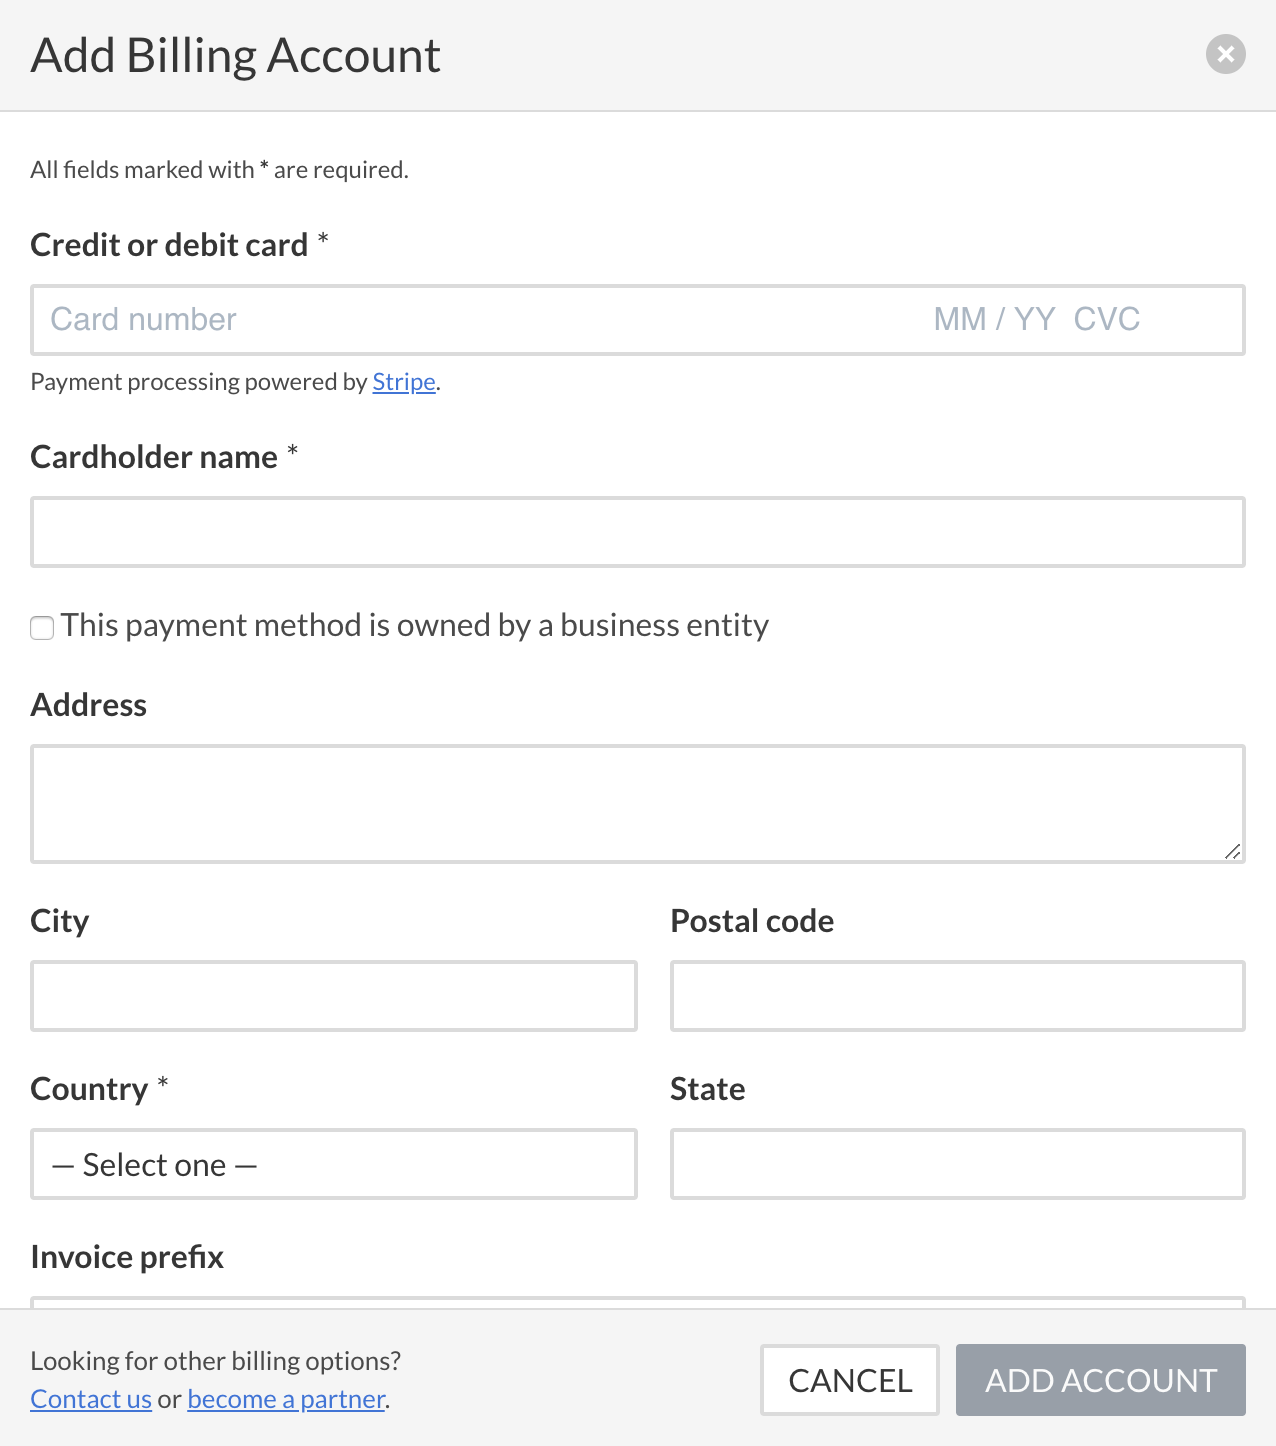
Enter your payment details, and select Add Account
Select the Subscriptions tab

Select Add Subscription
Choose the Personal or Enterprise subscription.
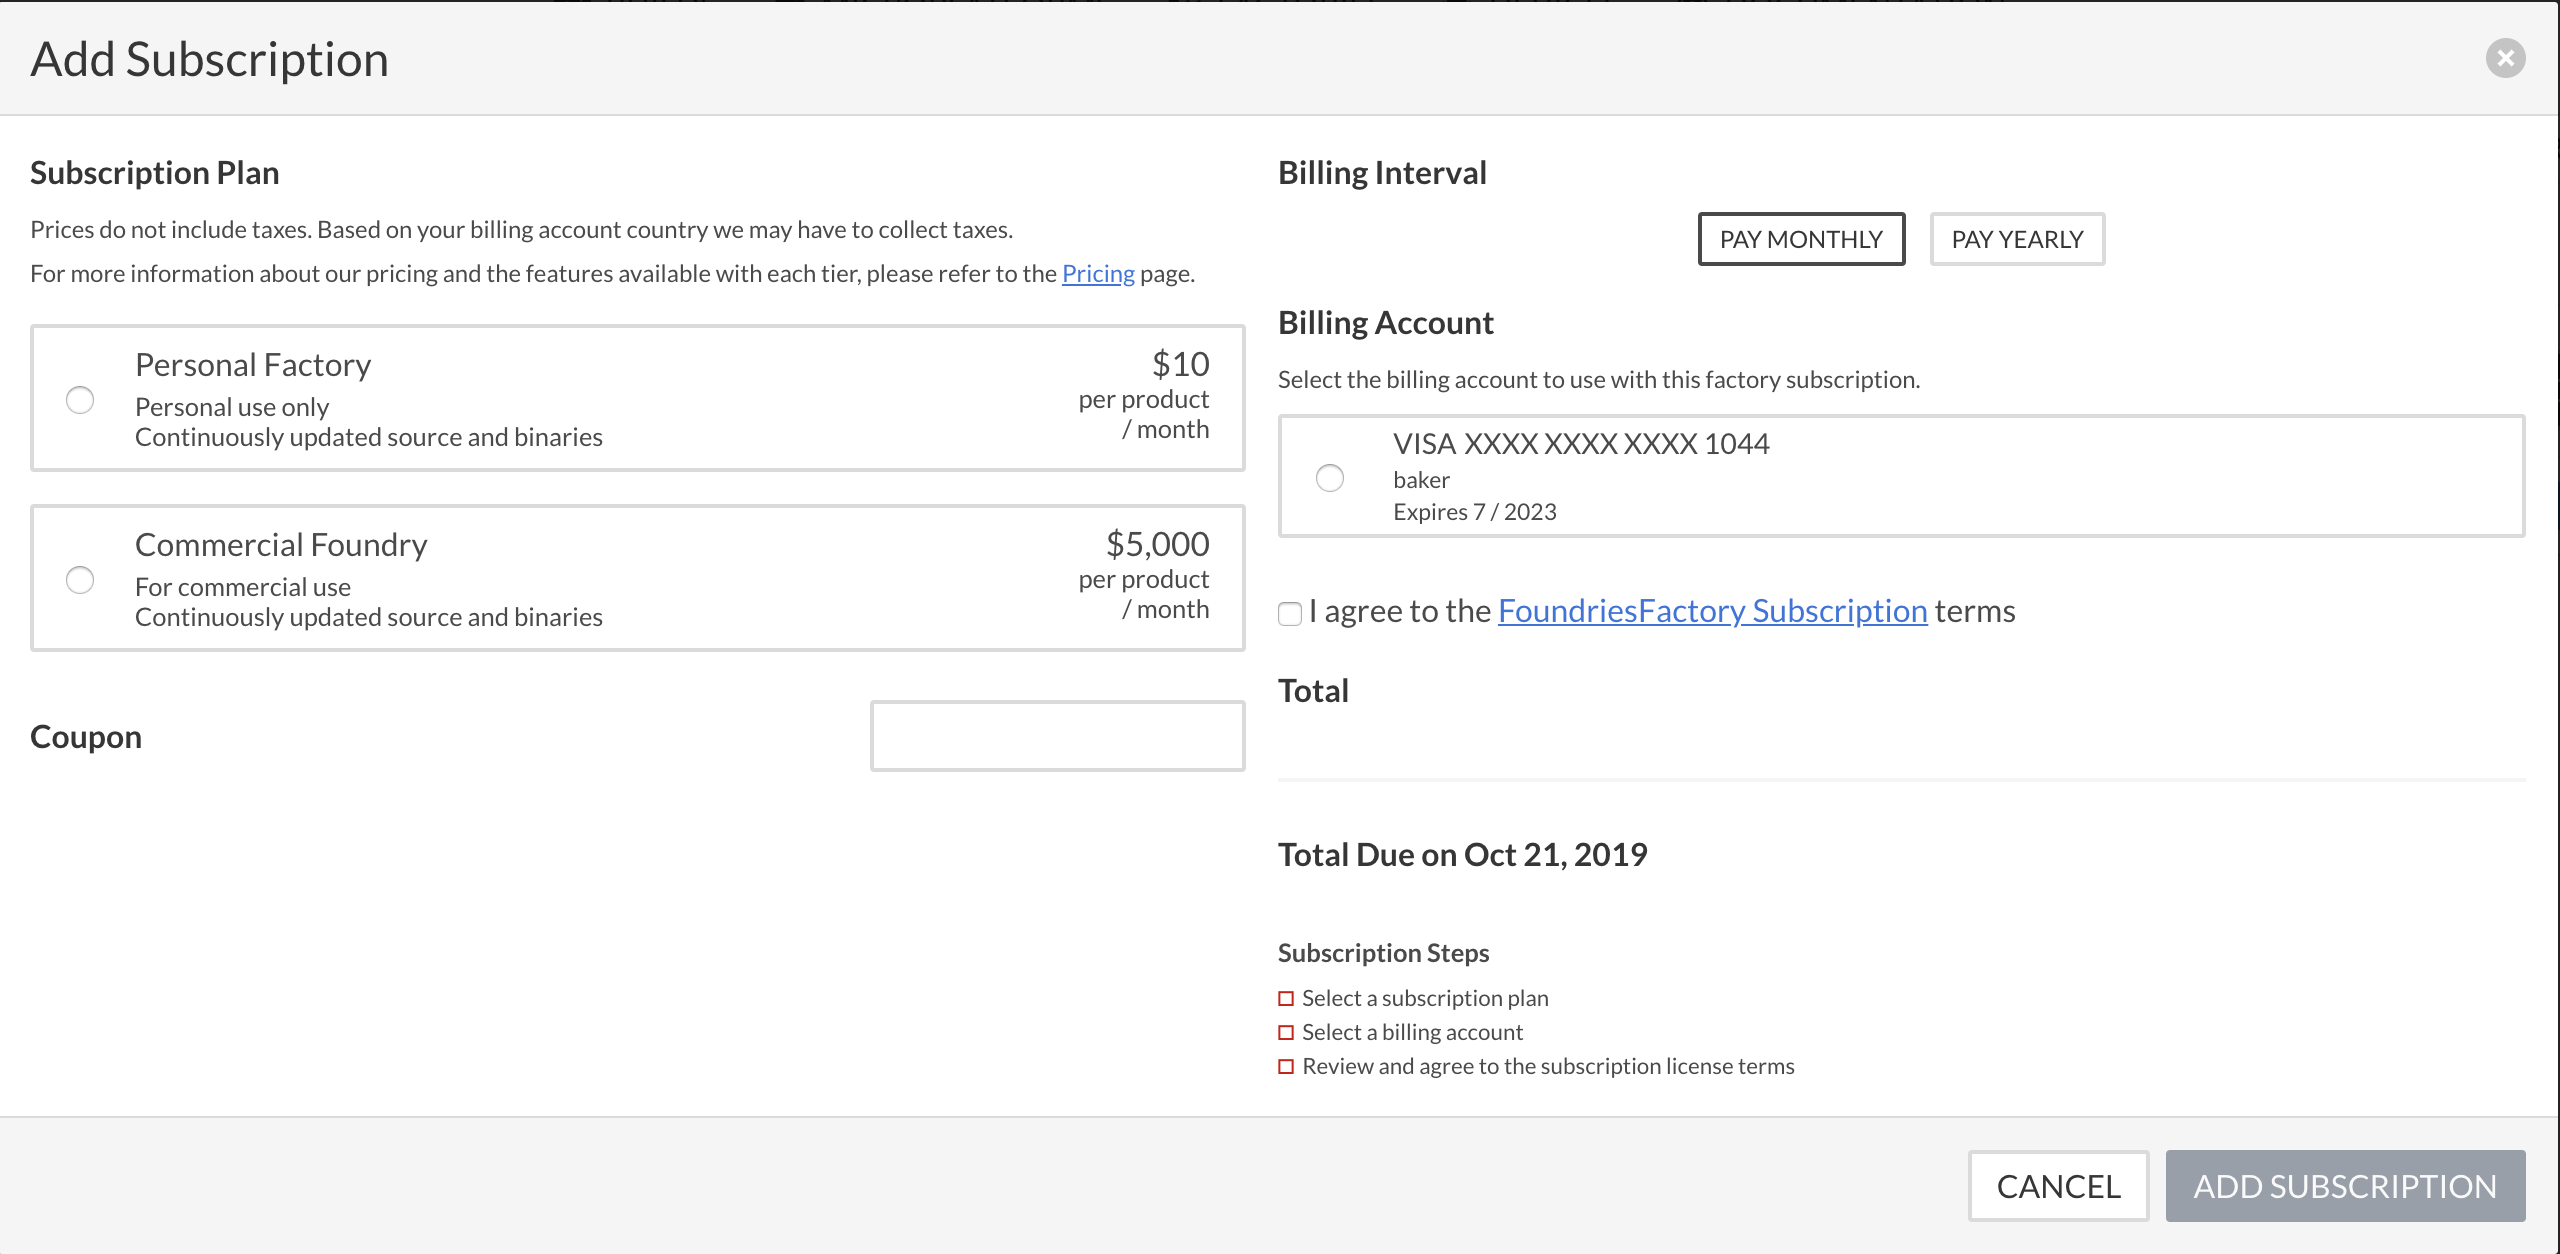
Refer to https://foundries.io/pricing/ for details about each subscription.
Select Add Subscription to enable your factory.
Factory Generation
It will take a few minutes for your factory to be created. You will receive an email when it is ready for use. Please follow the rest of this guide once you have an operational factory.
Generate an access token
In the upper right corner, select Preferences & Settings.
Settings pulldown menu
From the left menu, select Tokens.
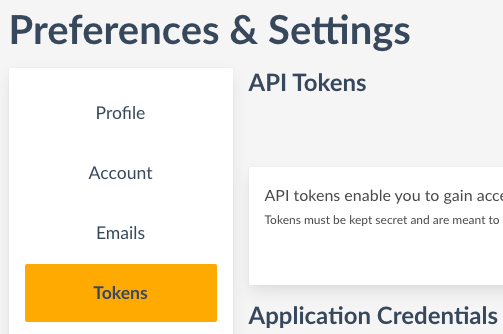
Link to access tokens
Select Create New Token.
Give the token a name and select Create.
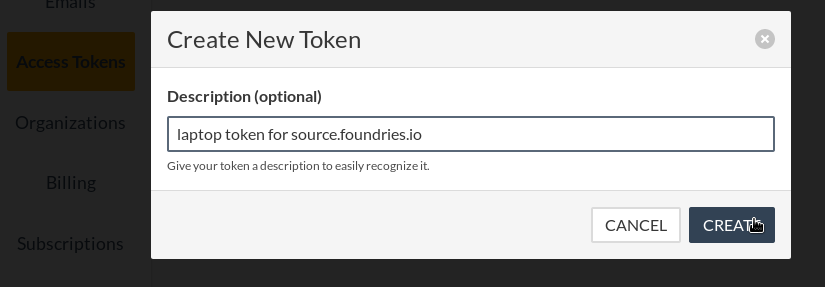
Create token dialog
On your host, create a file named
.netrc(note the leading .) in your home directory, readable only by your user, with the following contents:machine source.foundries.io login <your access token>
Viewing Builds
Click the Builds icon the upper navigation bar to view your factory builds.

Link for CI builds
This view will display the public Linux microPlatform builds, along with any continuous integration jobs defined in your factory.
Note
The continuous integration jobs in your factory are private to you and your organization.
Find your factory build, it will be
<myfactory>/lmp. Select it.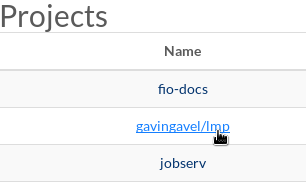
CI Projects list
Click on the default raspberrypi3-64 build and download the
lmp-factory-image-raspberrypi3-64.wic.gzartifact.
Install your factory build
Now follow the instructions in Install Linux microPlatform to install your factory build on a microSD card.
Insert the SD card into the Raspberry Pi 3, connect Ethernet and apply power.